Aspecten
 Download (18 MB)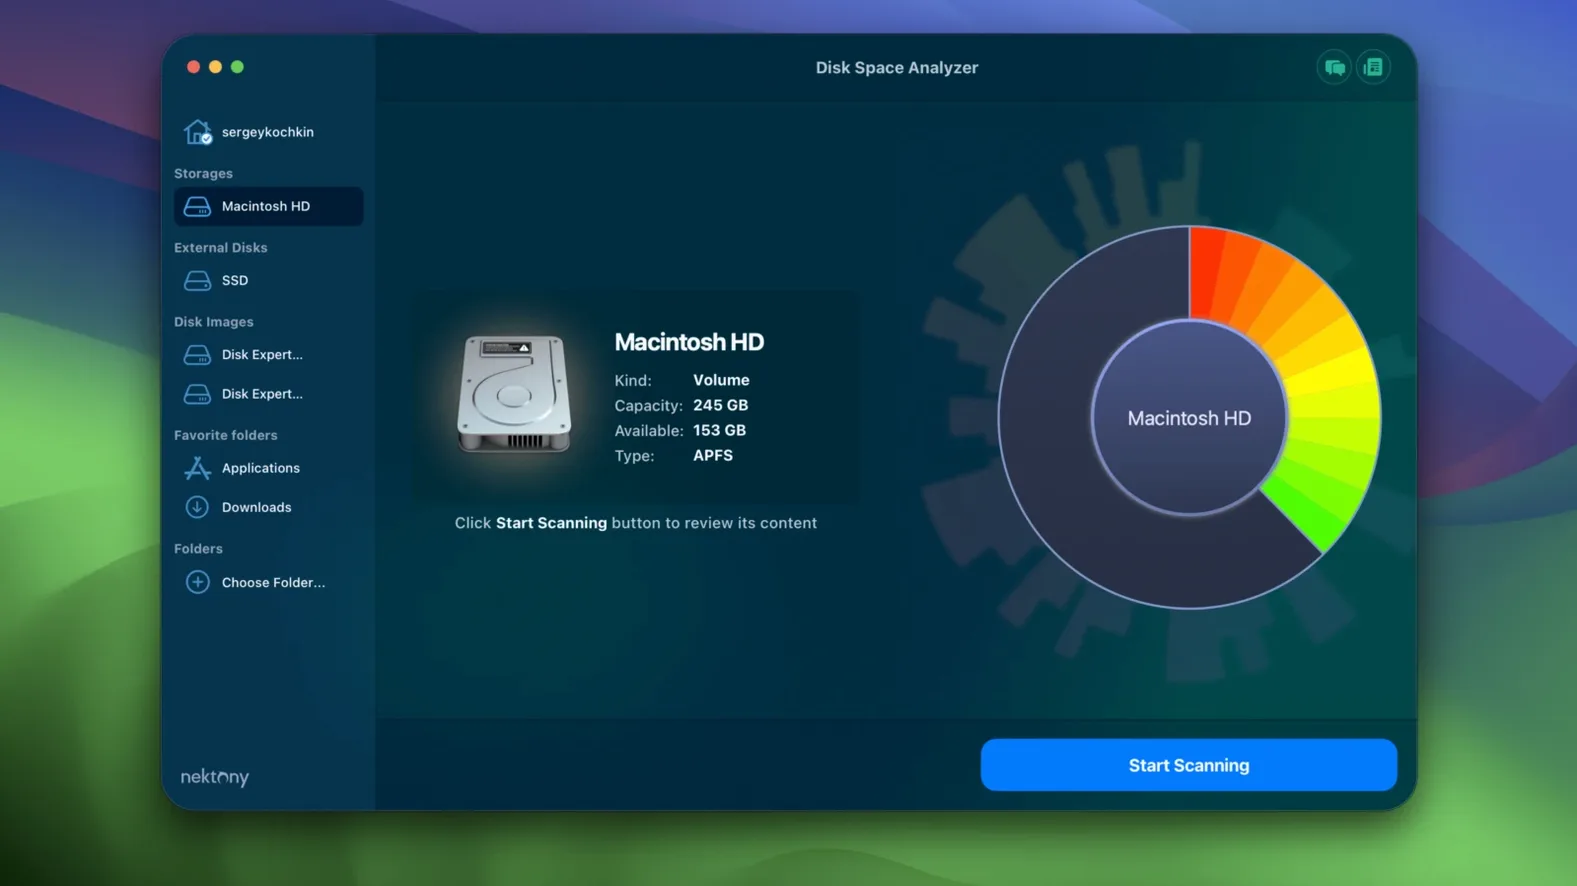
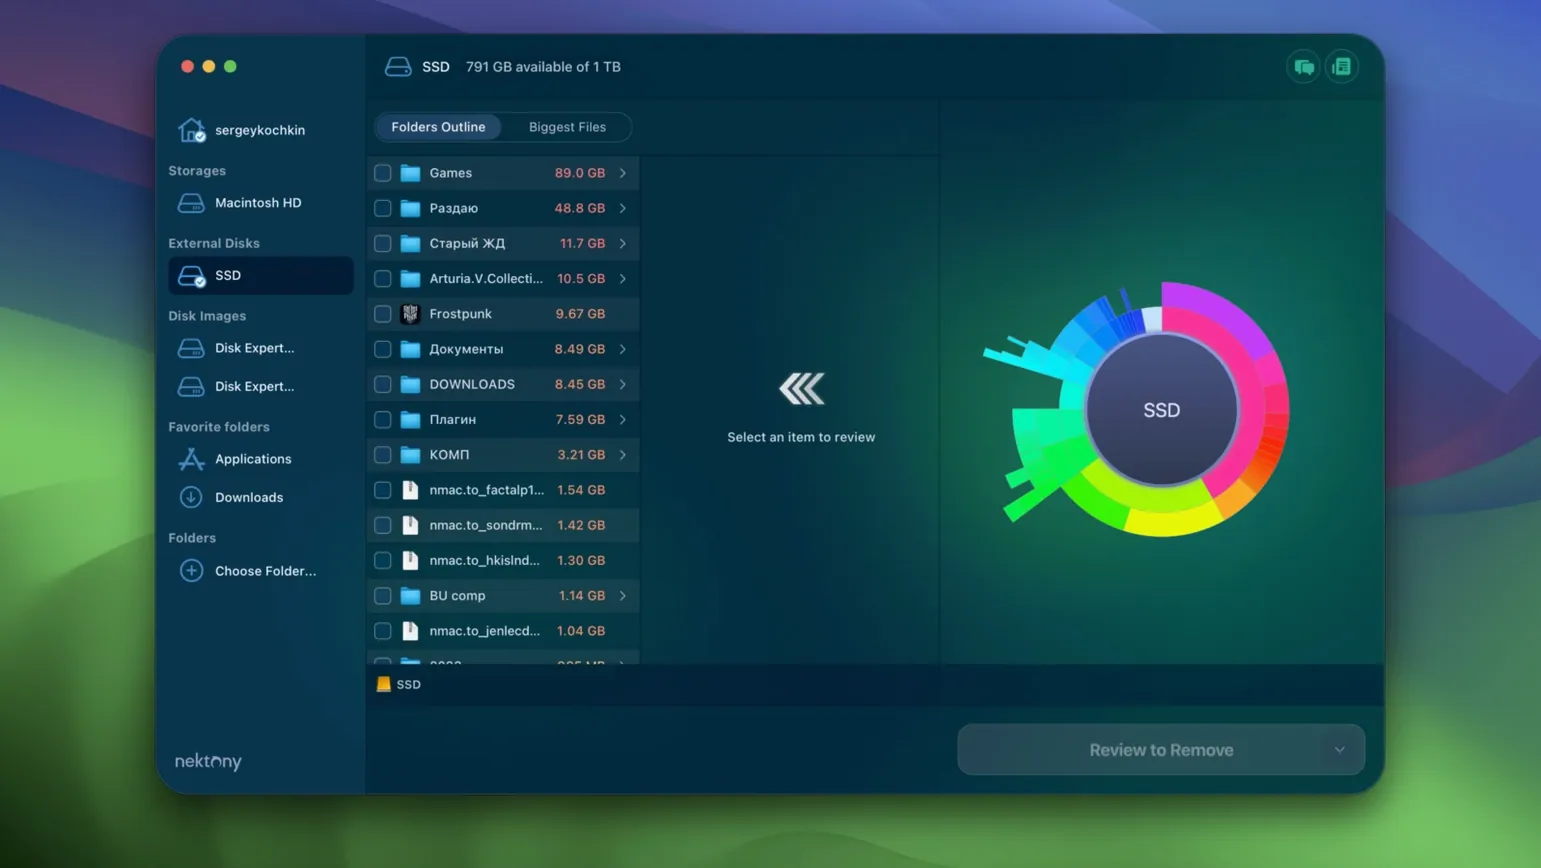
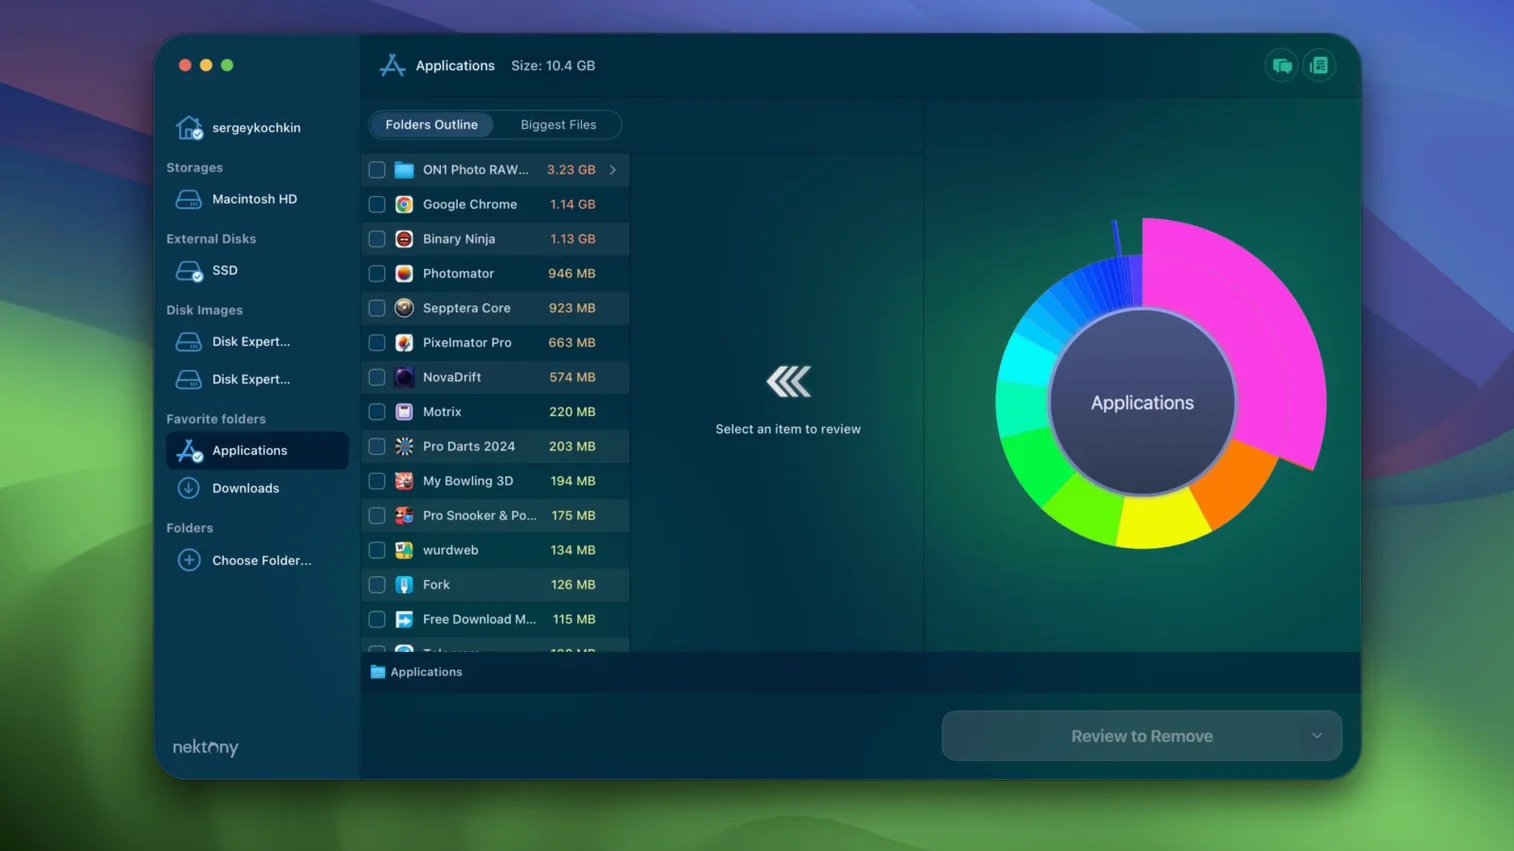
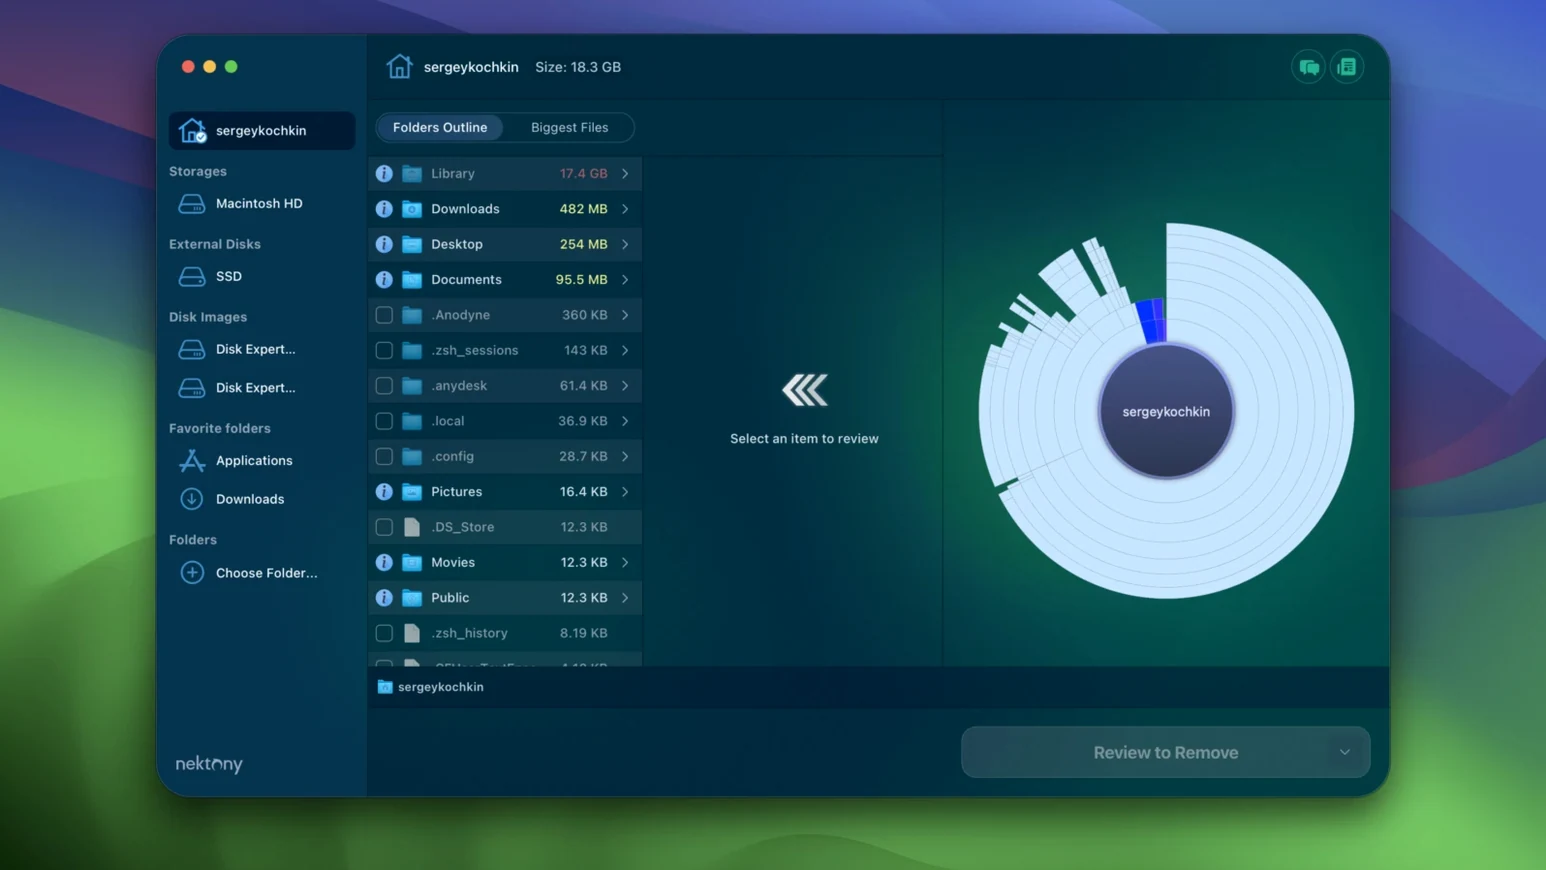
A downloads folder has grown to 180 GB and you cannot tell which ISO images are still needed. Disk Space Analyzer scans the drive, presents the largest culprits in a plain list, and lets you act on them without opening five Finder windows.
Scanning internal and external storage
Point the scan at your main SSD, a connected USB drive, or a mounted DMG image and it maps out usage in a straightforward way. Cloud storage folders and external hard drives are treated the same as internal volumes, so you can tidy a synced Dropbox folder or clear space on a backup disk with the same steps.
Picking out large and old files
Sort results by size or date to find files that have not been opened in years. Quick Look previews work directly from the results list, and a single click reveals a file in Finder without digging through nested folders.
Acting on what you find
Rather than deleting one item at a time, you collect files and folders into a collection and then copy, move, or delete them together. Scan reports can also be exported to CSV for a record of what took up space before you cleared it.
Scanning a nearly full 256 GB SSD in under a minute
Imagine a Saturday morning where your MacBook Air warns that 8 GB remain free. You open Disk Space Analyzer and select the internal SSD. The scan takes under a minute. The sunburst chart appears first — a ring of coloured segments where the largest block, a pale blue wedge labelled Users, immediately draws your eye.
You click into that segment. The chart zooms, revealing your home folder split into Library, Documents, and a surprisingly fat Music slice. Rather than chase the chart further, you switch to the file list and sort by size descending. Near the top sits a 42 GB folder called Logic — old sound library content you forgot about after switching to a different DAW two years ago.
You select it, press the space bar for Quick Look to confirm the contents, then add it to a collection. Scrolling further, you notice a 12 GB DMG for an installer you already ran. That joins the collection too. With three items gathered, you click Move to, point it at an external drive, and reclaim 60 GB without opening Finder once.
Deleting a 30 GB Library folder without checking what’s inside
The most common slip is scanning only the top-level folders and deleting the first large item in sight. A 30 GB Library folder looks like an easy win until you realise it holds Mail archives or application support files that break things when removed. The app shows what is large, but you still need to recognise what is expendable.
Another misstep is ignoring the date column. A 15 GB video project from last week is probably active work. The same file from 2019 with no recent access is a candidate for archiving. Beginners who sort by size alone often clear current projects alongside genuine clutter.
Some users treat the sunburst chart as the only navigation tool. It works well for grasping proportions, but clicking through nested rings to reach a deep folder is slower than typing its name into the search field. The search scans within results and lands you on the folder directly.
Lastly, people occasionally scan a mounted DMG, delete files from it, and expect the original DMG to shrink. A read-only disk image does not reclaim space; you need to create a new compressed copy afterward.
Reveal hidden system caches and .Trash on your first scan
Right after installing, open the preferences and check scan hidden files. Without it, the app skips system caches and ~/.Trash, which often hold tens of gigabytes of forgotten cruft. Enabling this reveals the full picture on the first pass.
Adjust the minimum file size filter to something practical like 100 MB. The default shows everything, which clutters the results with thousands of tiny preference plists and text clippings you will never act on. Raising the threshold keeps the list focused on what actually matters when you need a disk space analyzer mac download that surfaces real culprits.
If you scan external drives regularly, set the default scan location to Last selected rather than the startup disk. This saves a click each time you plug in the same archive drive. Also enable automatically export CSV after scan if you keep records of what gets cleaned — the report lands silently in a folder you specify and you can review it weeks later when someone asks where a particular project went.