Aspecten
 Download (7.9 GB)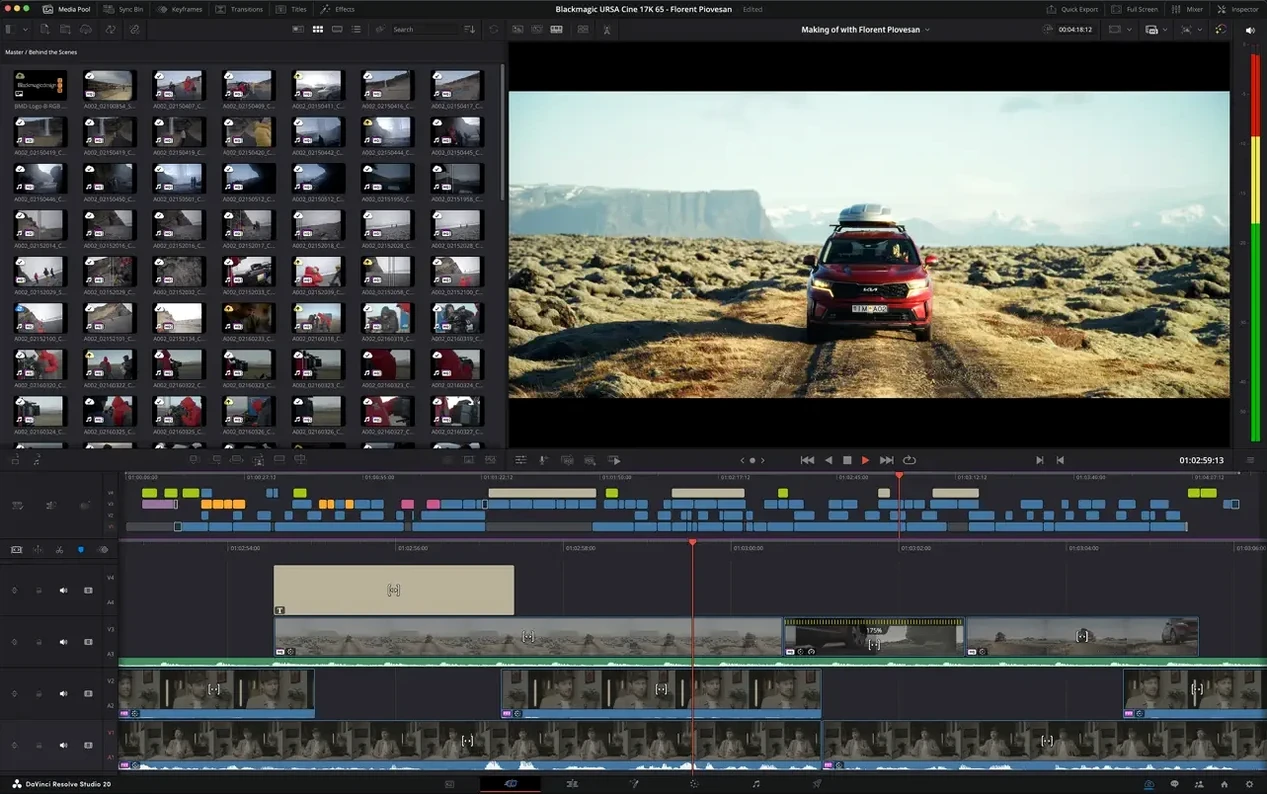
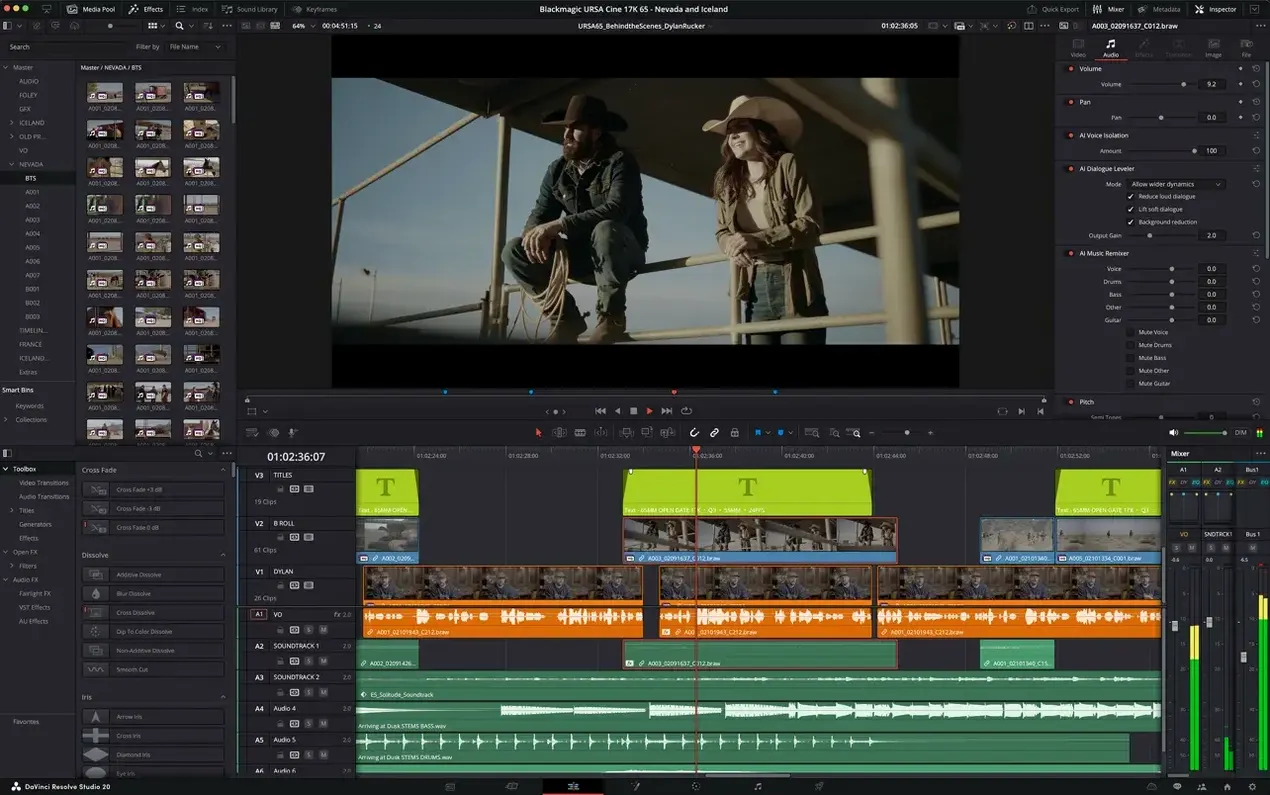
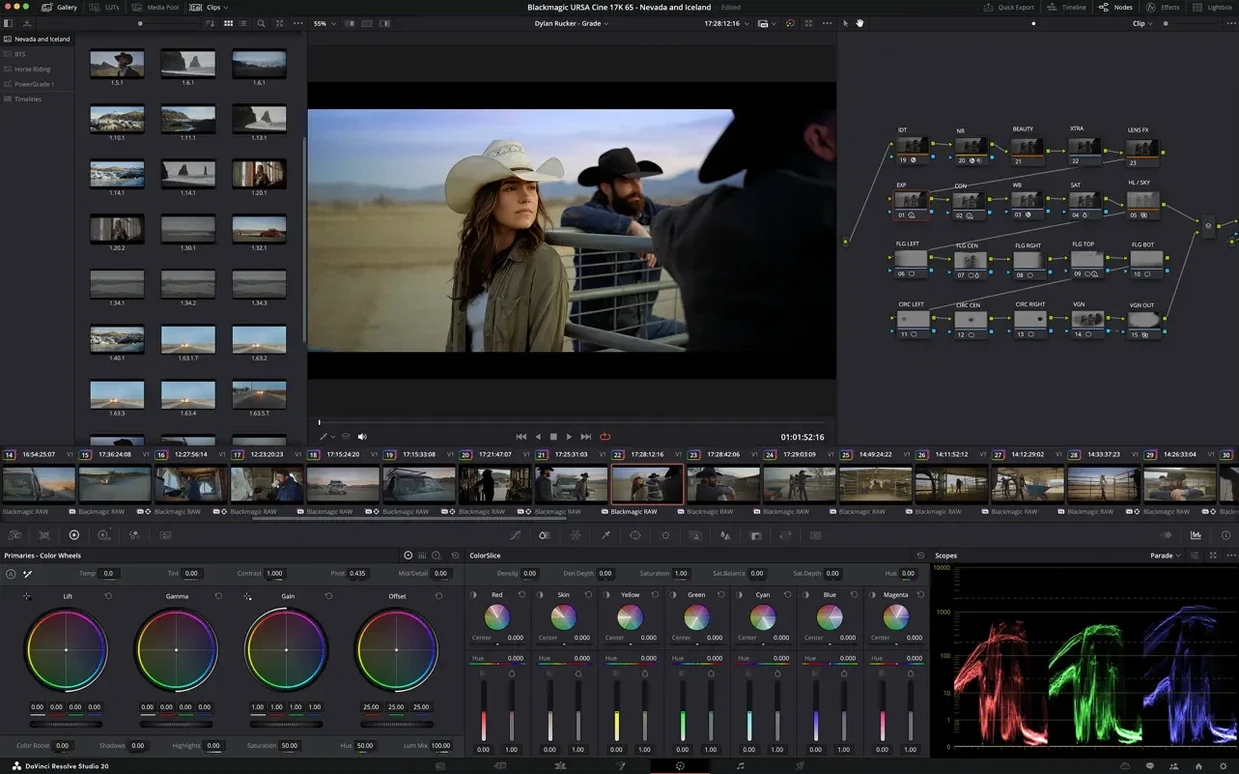
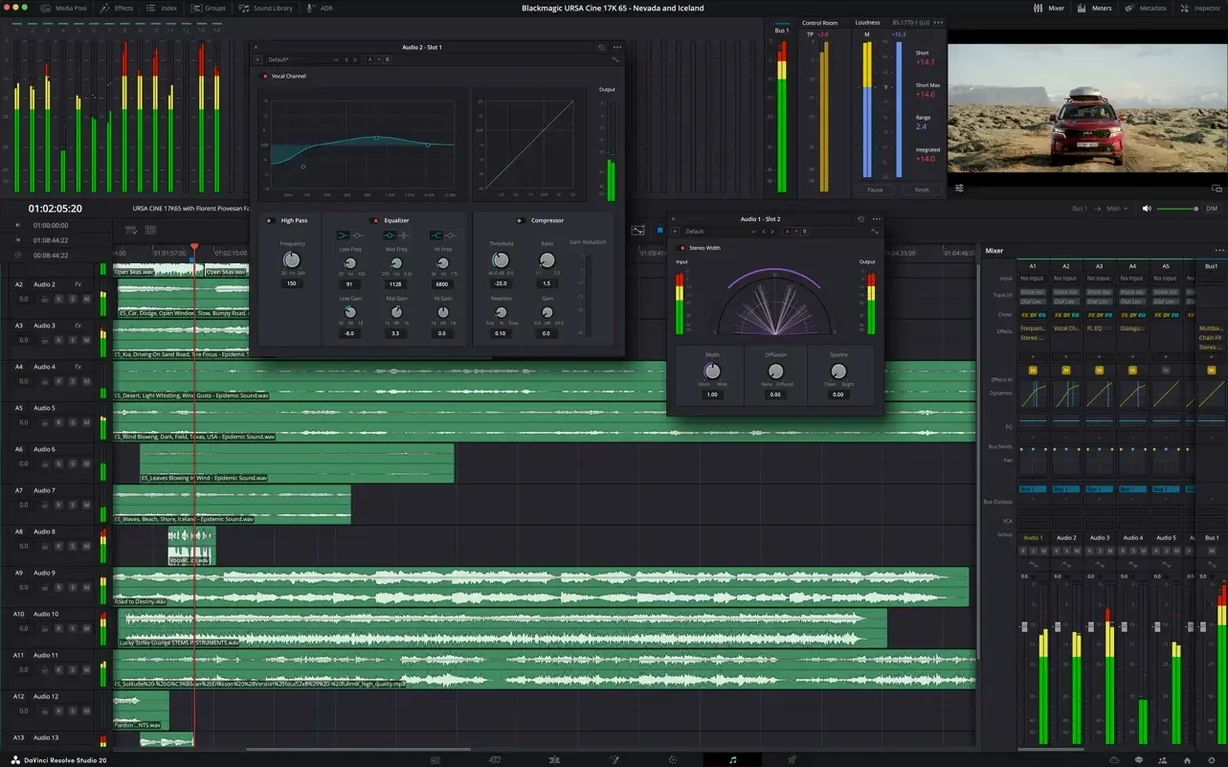
Editors who work across colour, motion graphics and audio tend to settle in DaVinci Resolve Studio because the separate pages stay in one application. The Studio edition is the one used in finishing houses and on Hollywood productions, and the tools reflect that context. Version 21.1 adds over 100 new tools and controls for editing and colour grading workflows, which is the kind of update a working editor notices in daily use.
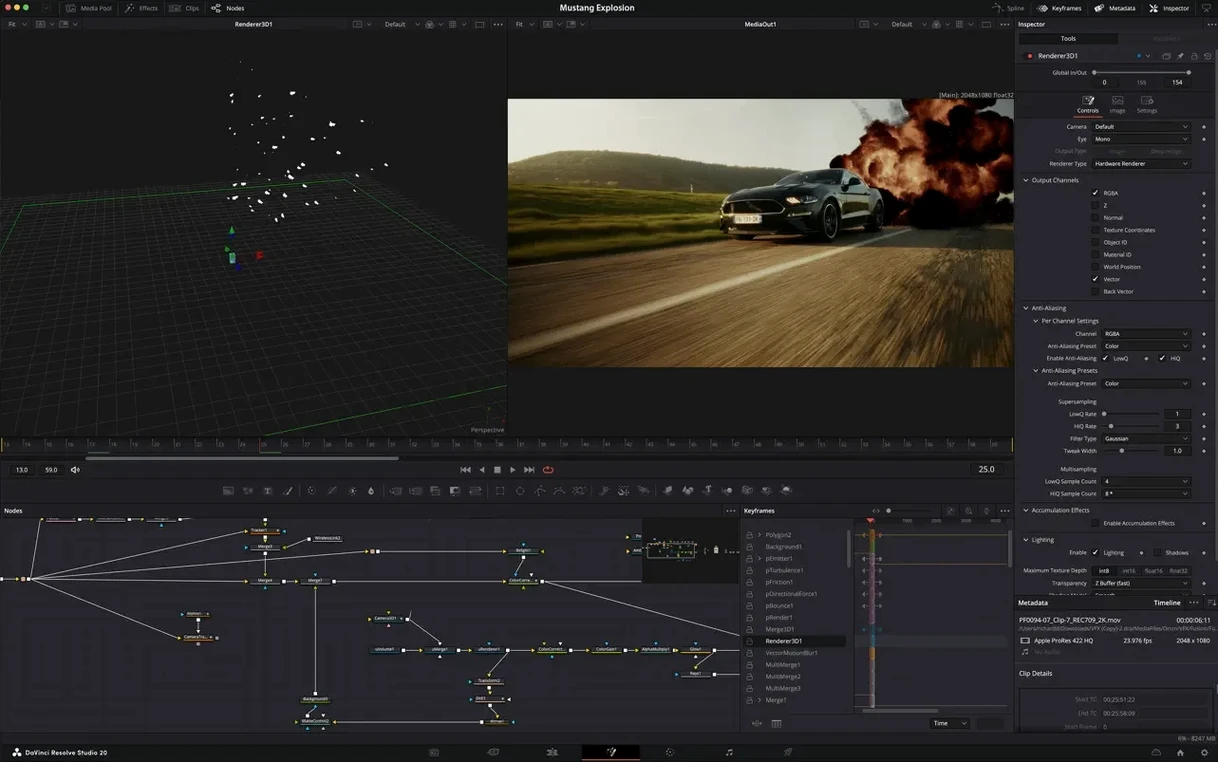
Colour correction runs on 32-bit floating-point YRGB processing. That matters when you push an image far and need the math to hold. The 21.1 update also brings over 25 new Krokodove graphics tools, which extend Fusion-based motion graphics work in practical ways: more nodes, more controls, less need to leave the application.
On Apple Silicon, hardware-accelerated HEIC decoding in 21.1 means stills from modern cameras and phones move through the pipeline with less friction. The Photo page gains expanded camera format support as well, so mixed-media timelines feel less like a workaround.
The point of the Studio edition is avoiding the switch between multiple applications. Editing, visual effects, motion graphics, colour correction and audio post-production sit side by side, and the 21.1 additions push that idea further for users who already know where everything lives.
Three rival editors that sharpen Resolve Studio’s trade-offs
Three names come up repeatedly when editors evaluate their options alongside DaVinci Resolve Studio: Final Cut Pro, Premiere Pro, and the standard (free) edition of Resolve itself. Each comparison turns on a different aspect, and which one matters depends on the kind of work you do.
Against Final Cut Pro, the difference is less about feature count and more about the editorial model. Final Cut Pro uses a magnetic timeline that suits rapid assembly and single-operator projects. Resolve Studio keeps a track-based timeline, which editors coming from AVID or Premiere Pro recognise immediately. The colour page in Resolve Studio is a full professional grading environment. Final Cut Pro has colour tools, but they live inside the inspector and the colour board — capable, but not a dedicated room. Audio tells a similar story. Fairlight in Resolve Studio is a complete DAW-style mixer with bus routing, EQ, dynamics and ADR tools. Final Cut Pro relies on Logic Pro for that depth. The trade-off is straightforward: Final Cut Pro favours speed on smaller projects; Resolve Studio favours depth across disciplines without leaving the application.
Premiere Pro shares the track-based paradigm and integrates with After Effects and Audition. The comparison with Resolve Studio often comes down to the Fusion page versus After Effects. After Effects is the established motion graphics and compositing tool with an enormous ecosystem of plugins and tutorials. Fusion uses a node-based approach that compositors and VFX artists often prefer, but the plugin library is smaller. Resolve Studio includes Fusion, the colour page, and Fairlight in one package. A Premiere Pro workflow that spans editing, compositing and audio typically involves three separate applications and the overhead of round-tripping. Resolve Studio keeps everything under one project file, which changes how fast you can move from an edit to a grade to a composite and back.
Compared to the free edition of DaVinci Resolve, the Studio edition adds the neural engine features, temporal and spatial noise reduction, multiple GPU support, HDR grading tools at resolutions above UHD, and the full set of Resolve FX filters. The free edition is already a capable editor and grader. The Studio edition removes the ceiling for finishing work. If your timelines stay under 4K and you do not need noise reduction or multi-GPU rendering, the free edition covers plenty. The Studio edition becomes relevant when those limits become blockers in daily work.
AI voice-to-text media sorting and batch rendering
The 21.1 update is a collection of small but cumulative shifts rather than one headline feature. The AI assistant integration touches two areas that eat time on most projects: media organisation and batch rendering. Instead of manually sorting clips into bins or setting render parameters for a dozen timelines, you can describe what you want and let the assistant handle the mechanics. It does not replace an assistant editor, but it speeds up the repetitive parts of prep and delivery.
The expanded camera format support on the Photo page makes mixed-media timelines feel less like an afterthought. Colourists and editors who pull stills into reference monitors or build slideshows alongside video will notice fewer import errors and faster thumbnail generation. On Apple Silicon, hardware-accelerated HEIC decoding means those stills decode without taxing the CPU in a way that slows playback. The decoding happens on dedicated hardware, so the timeline keeps moving.
The Krokodove graphics tools are a meaningful addition for Fusion users. Over 25 new node-based tools expand what you can do with shapes, text, and procedural effects without reaching for a separate motion graphics application. For someone building lower thirds, title sequences, or abstract backgrounds inside Fusion, the new nodes reduce the need to leave the page. It is a quiet upgrade, but one that shows up in the node graph as fewer workarounds.
The scripting APIs with built-in console support matter to studios and technical directors who automate repetitive tasks. Twenty new APIs extend what a pipeline script can control — project settings, timeline operations, render configurations. The console support means you can test scripts interactively rather than writing blind and debugging through log files. For solo editors, this is invisible. For a post house managing dozens of timelines a week, it changes how fast custom tools get built and deployed.
GPU-accelerated HTJ2K decoding using Kakadu is a niche but significant change for anyone working with IMF packages or mastering workflows that use JPEG 2000. The decoding moves from CPU to GPU, which frees up the processor for other tasks during playback and render. It is the kind of change you notice in the render queue: the same deliverable finishes sooner, and the machine stays cooler.
Option-click a node to bypass it on the colour page
Resolve Studio is dense enough that even experienced users overlook useful shortcuts. A few worth knowing:
On the colour page, Option-clicking a node bypasses it temporarily. This is faster than disabling it through the right-click menu and helps when comparing a grade with and without a specific correction. Shift-H in the viewer toggles the highlight mode that shows clipped whites and crushed blacks — a quick diagnostic that avoids squinting at the waveform for obvious problems.
In Fairlight, Option-dragging a clip edge in the timeline performs a time-stretch without opening a dialog. For sound design work where you want to stretch a room tone or a riser to fit a gap, this is quicker than the menu-driven route. The solo-safe function, activated by Command-clicking the solo button on a track, keeps that track audible when soloing others — useful for keeping a reference mix or dialogue track present while you isolate effects or music.
On the edit page, Shift-F finds the current clip in the media pool. When a timeline has dozens of clips from different bins, this saves hunting through the pool manually. Option-dragging a clip from the source viewer into the timeline performs a replace edit — it swaps the clip under the playhead without disturbing the rest of the timeline. Editors who came from AVID will recognise this as the equivalent of an overwrite replace, and it is easy to miss because the default drag behaviour is an insert.
The timeline proxy mode is not hidden, but the shortcut is: Command-Option-P toggles between proxy and original media. If you set up proxies on import, this lets you switch resolution on the fly without opening preferences. It is the kind of shortcut that becomes muscle memory once you discover it.
Colourists who gain HDR grading and lens correction
DaVinci Resolve Studio suits a few distinct groups, and the reasons differ for each.
Colourists get the most obvious benefit. The colour page is the reason many people install Resolve in the first place, and the Studio edition unlocks the full grading toolset. HDR grading, temporal noise reduction, and the advanced colour management system are tools that a finishing colourist uses daily. If you grade dailies, conform timelines from other NLEs, or deliver for broadcast and cinema, the free edition eventually hits a wall. Studio removes it.
Independent filmmakers and small production teams gain from the consolidation. One Mac running Resolve Studio replaces a stack of applications for editing, compositing, audio post and delivery. On a short film or a documentary, a single operator can edit, mix, grade and composite without round-tripping between applications. The project stays coherent, and version control is simpler because everything lives in one database.
VFX artists who work inside Fusion benefit from the node-based compositing environment staying linked to the edit and grade pages. The Krokodove tools in 21.1 extend what is possible without plugins, and the GPU acceleration on Apple Silicon means Fusion compositions render faster than they did two versions ago. For motion graphics work that stays within the Resolve ecosystem — lower thirds, screen replacements, clean-up — Fusion is now a practical alternative to After Effects for many shots.
Audio post-production users find Fairlight more capable than the audio tools built into most NLEs. It is not a replacement for Pro Tools in a large multi-room facility, but for editing dialogue, mixing stems, and delivering final audio alongside picture, it is more than adequate. The bus routing, automation, and plugin support cover the needs of short-form and mid-form work comfortably.
Users who work with mixed media — video, stills, screen recordings, phone footage — get a smoother experience in 21.1 because of the expanded camera format support and hardware-accelerated HEIC decoding. If your media pool is a mix of a cinema camera, a DSLR, an iPhone and screen captures, Resolve Studio handles the format wrangling with less friction than most alternatives.
Point your project backup location at a folder you control
A fresh install of DaVinci Resolve Studio benefits from a few deliberate setup choices before you start cutting. The defaults are sensible, but they are not optimised for every machine or workflow.
Set your project backup location early. Resolve stores project databases in a default location, but specifying a folder on an external drive or a cloud-synced directory protects against data loss. Open the project manager, click the database icon, and point the backup path somewhere you will remember.
Configure GPU processing in the preferences under Memory and GPU. On Apple Silicon, Resolve uses Metal by default, but you can check that the GPU processing mode is set to Metal and not OpenCL. If your Mac has multiple GPUs, ensure they are all selected. For machines with an external GPU, the checkbox for GPU scopes can offload waveform and vectorscope rendering to a secondary device, freeing the primary GPU for image processing.
Set up proxy generation before importing large amounts of media. In the project settings under Master Settings, choose a proxy resolution and codec. ProRes Proxy at quarter resolution is a practical starting point for 4K footage. Resolve can generate proxies on import automatically, and the Command-Option-P toggle makes switching between proxy and original media a single shortcut.
Take time to customise the keyboard layout. Resolve ships with several presets — Premiere Pro, Final Cut Pro, AVID Media Composer — and switching to the one that matches your muscle memory prevents frustration during the first editing session. The Keyboard Customisation panel under DaVinci Resolve > Keyboard Customisation lets you remap individual shortcuts. If you use the cut page for quick edits, note that it has its own shortcut set separate from the edit page.
Spend half an hour inside Fairlight even if you do not consider yourself an audio person. Patch the monitor outputs to your audio interface in the Fairlight patch panel, set your bus structure to stereo or 5.1 depending on delivery, and save the configuration as a template. When you need to mix a project later, the routing is ready and you are not troubleshooting signal flow under a deadline.
Finally, build a power bin. Right-click in the media pool and create a new power bin, then populate it with frequently used assets: colour charts, test patterns, countdown leaders, standard lower thirds, and audio tone clips. Power bins appear in every project, so you are not re-importing the same elements at the start of each new timeline. It is a small habit that pays out over months of project starts.