Aspecten
 Download (30 MB)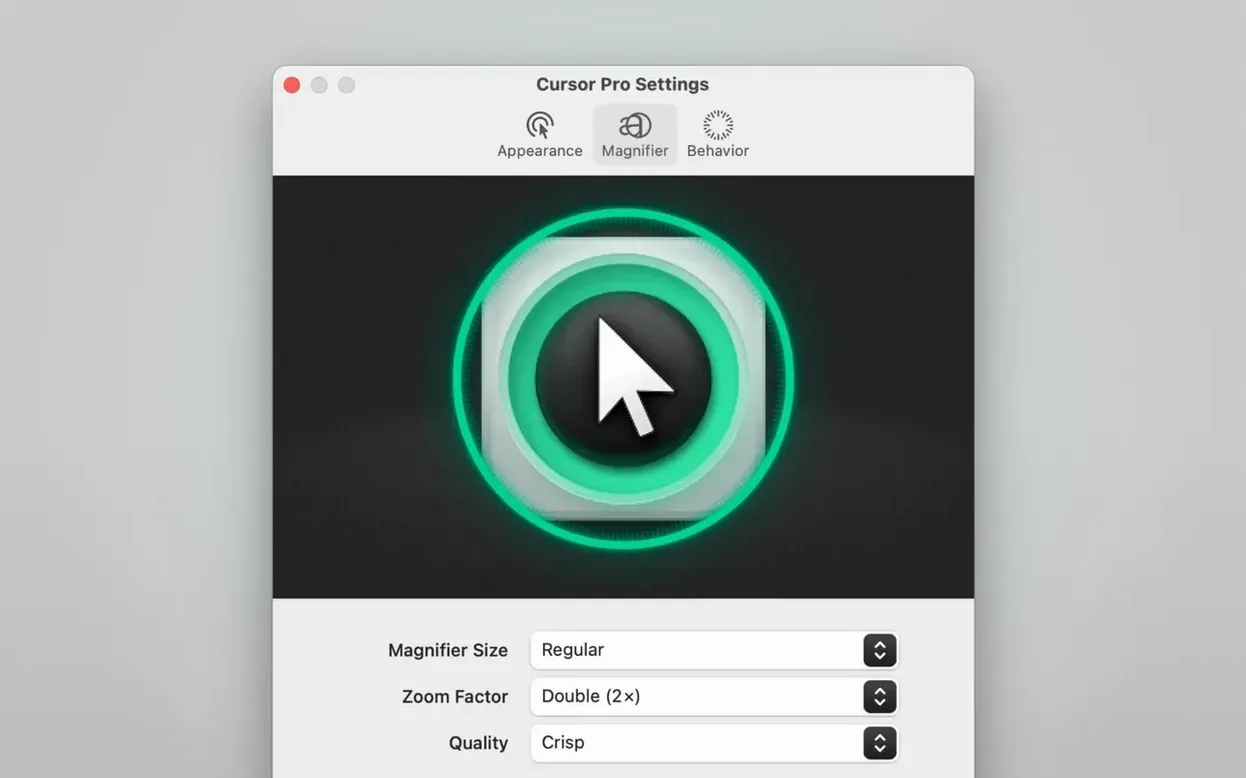
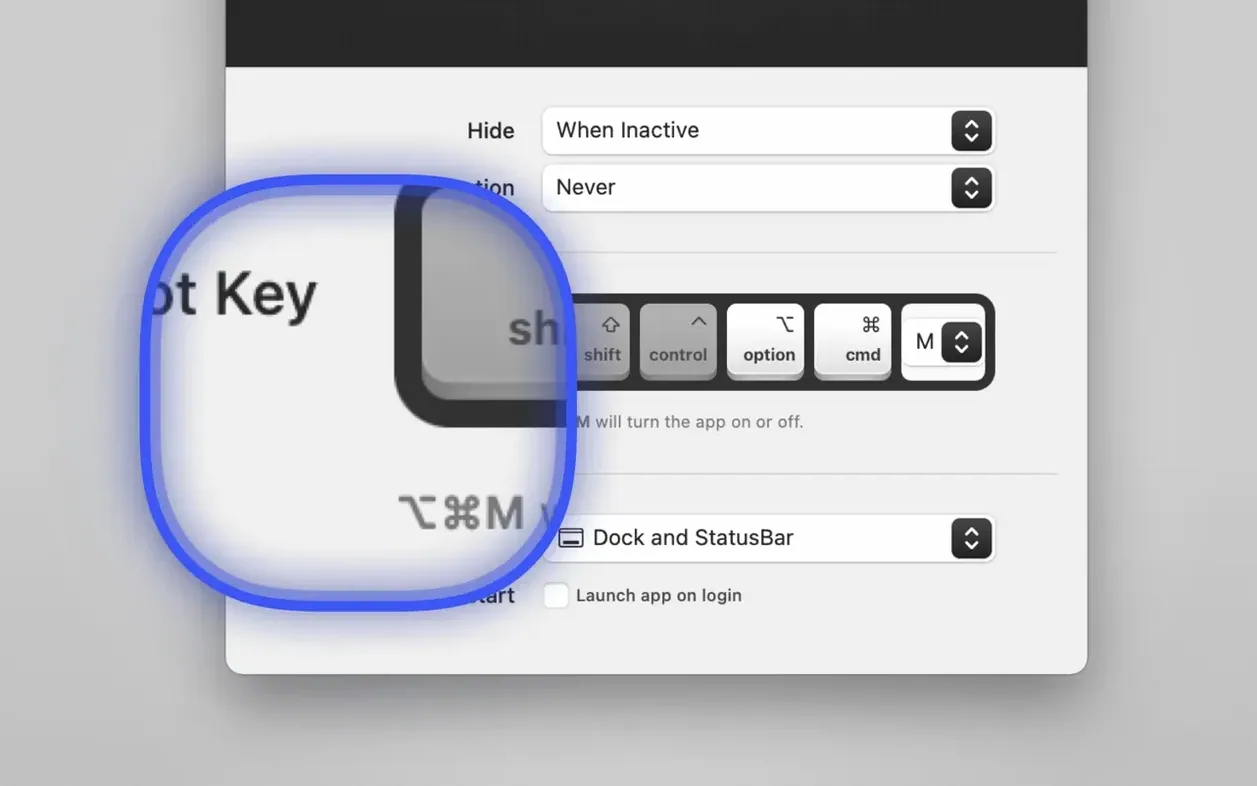
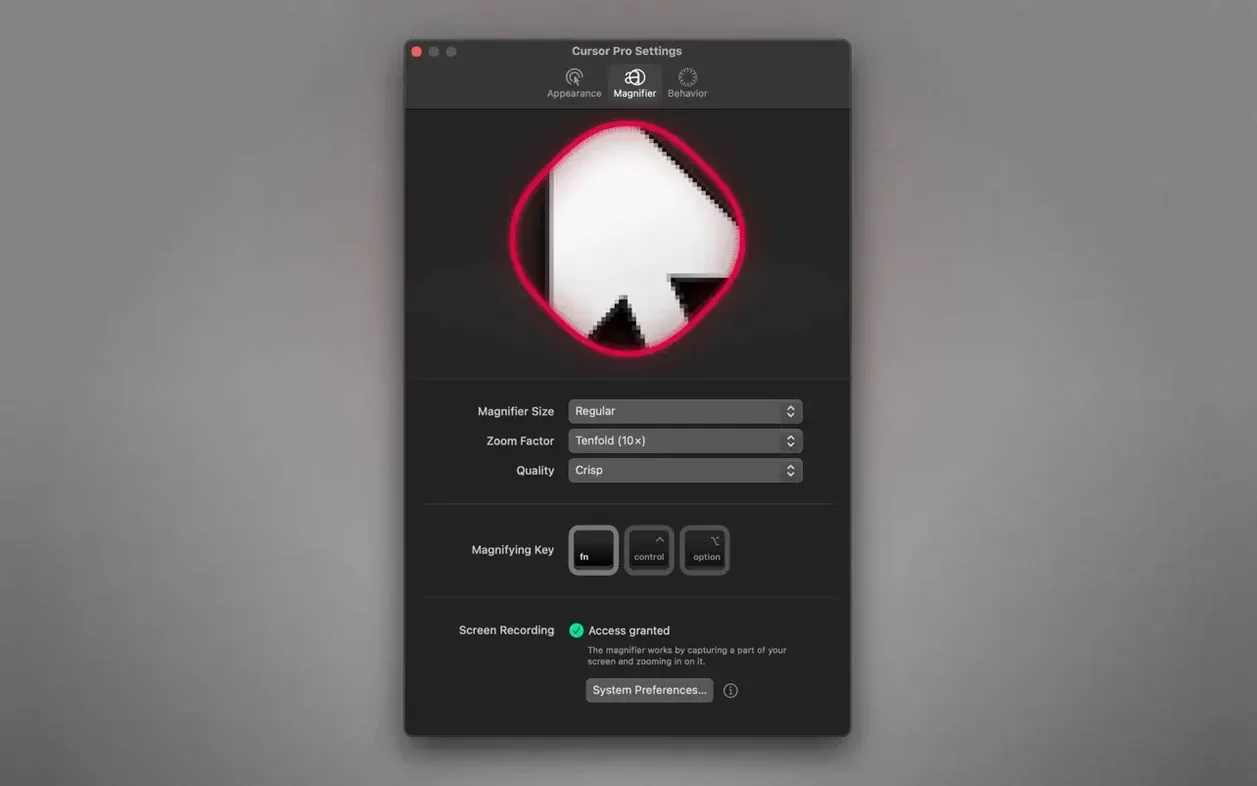
The Magnifier sits at the centre of what makes this app immediately useful. Before you touch any of the pointer customisations, turn it on once during your next screen share or presentation. It follows the cursor and enlarges whatever sits underneath, which spares your audience from squinting at small interface details.
Pointer shapes and glow
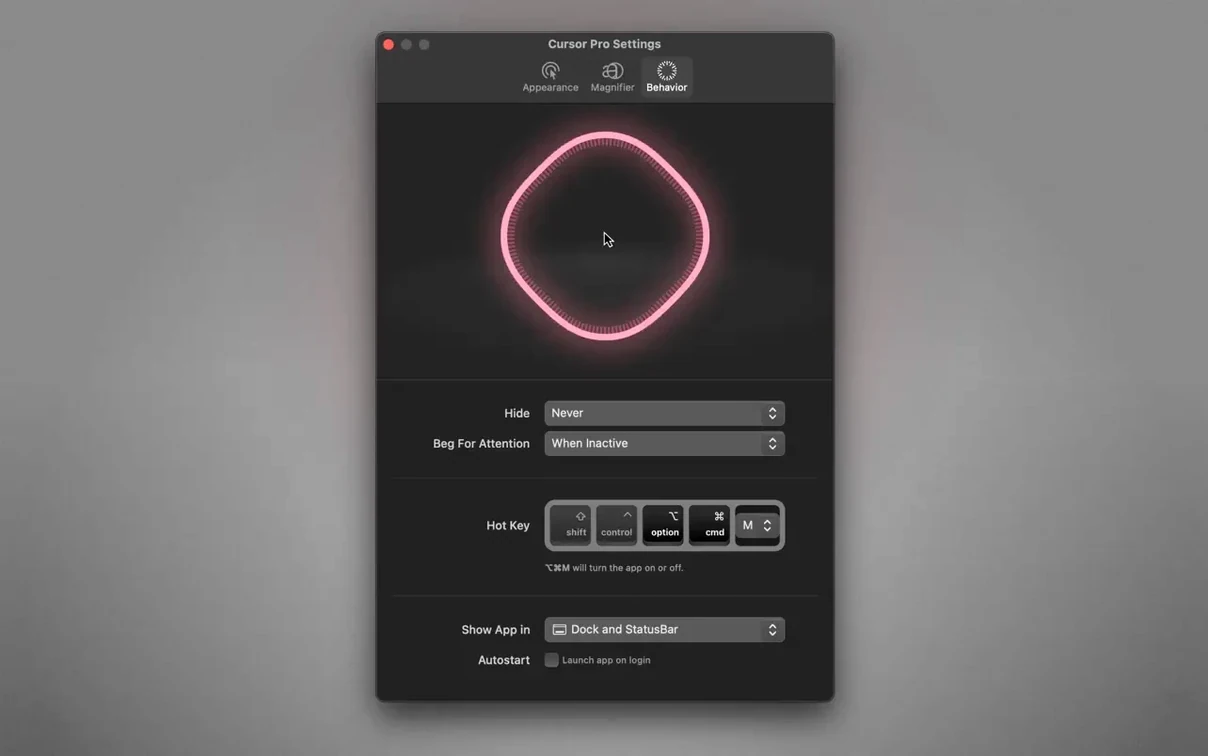
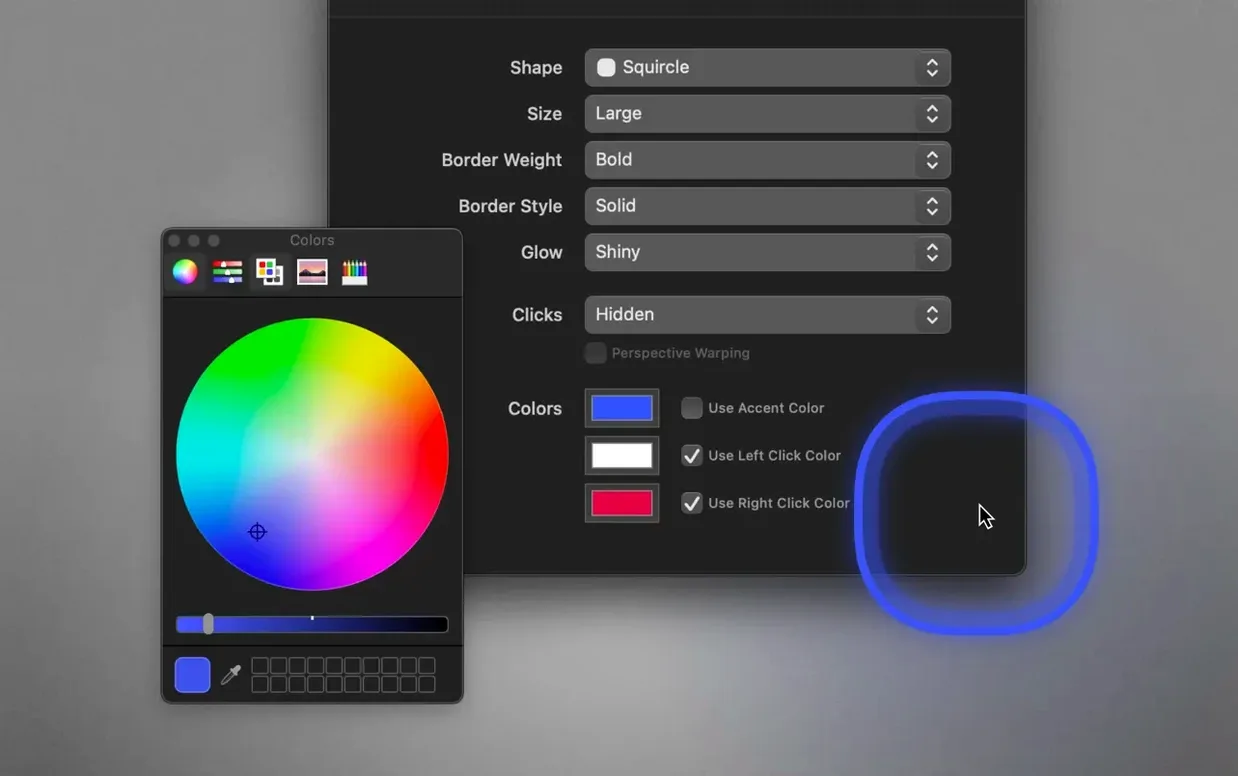
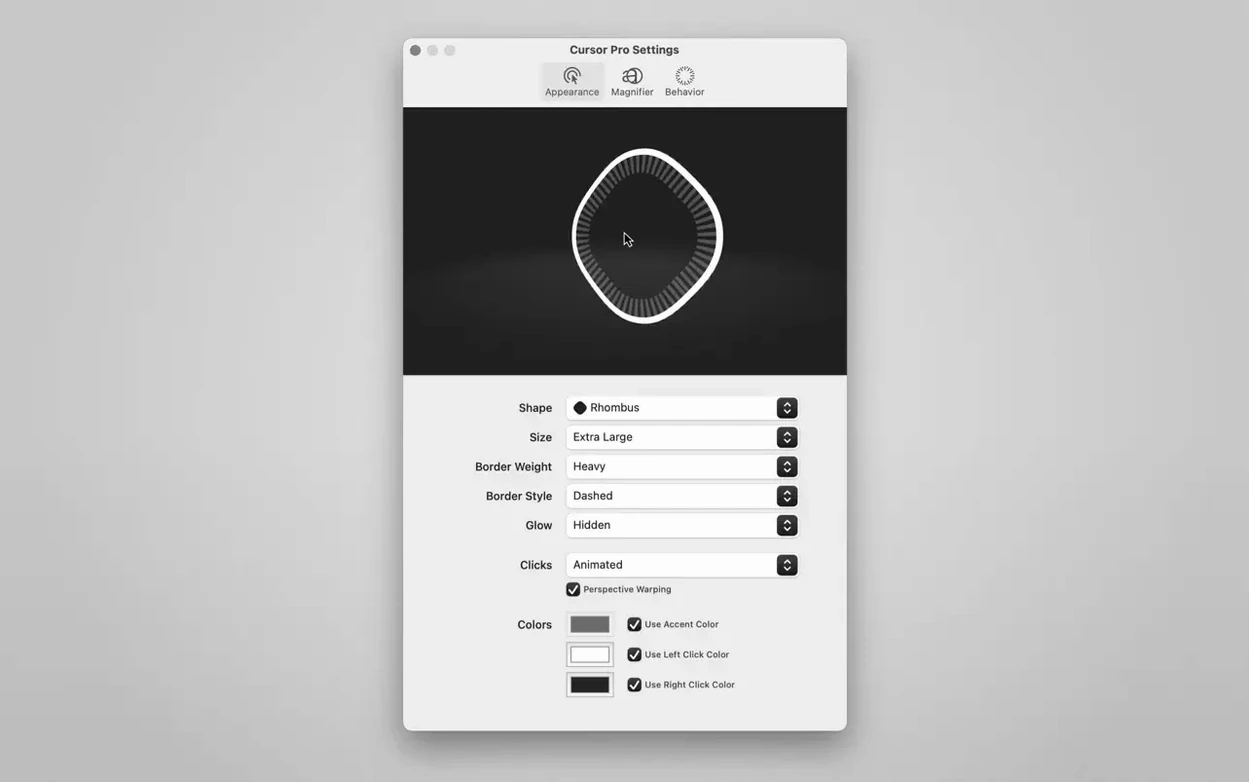
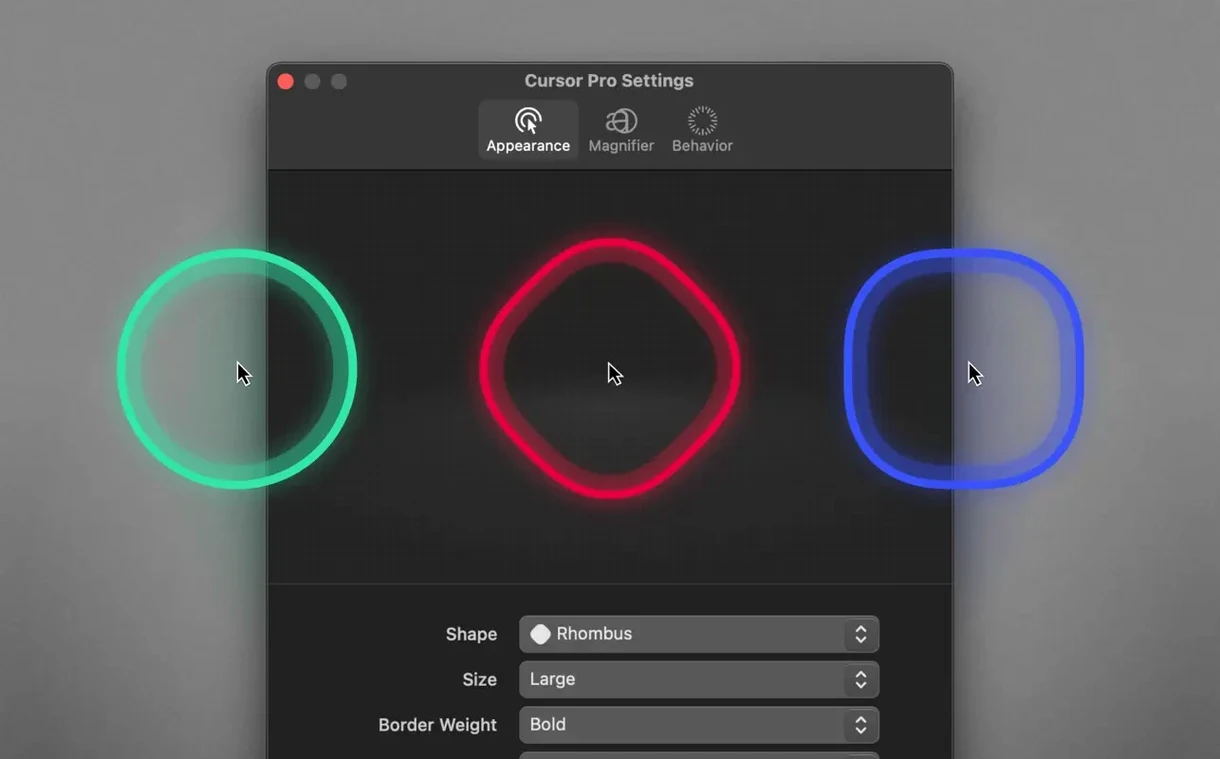
Once you have used the magnifier in a live setting, open the highlight settings. The default highlight is a coloured circle, but swapping it for the diamond shape is worth doing early — the sharp edges draw the eye more deliberately than a soft circle when you need to indicate a specific pixel. From there, pick a colour that contrasts with your usual desktop background. The glow effect adds a soft halo around the highlight and works best on darker surfaces, where it stops the pointer from blending into busy window chrome. Together, shape, colour and glow turn the cursor into something you can direct with intent rather than something people chase across the screen.
Auto-hide and everyday use
The app is not only for presentations. If you work on a large display, the highlight helps locate the pointer after a moment of keyboard work. Enable auto-hide in the preferences so the highlight fades after the cursor rests, then reappears the instant you move the mouse again. It is a small touch that keeps the tool present without feeling permanently loud. Also consider the option to launch at login — once it becomes part of your desktop, the pointer is simply easier to find, whether you are teaching over Zoom or just navigating a wide canvas on your own.
The first thing to do after installing is settle on a global hotkey you will actually remember. Open the preferences and assign something that does not clash with your screen-recording or meeting software — ⌃⌥⌘P works for many people because it rarely overlaps with anything else. Test the hotkey once, then deliberately use it a few times during your first day. The muscle memory forms quickly, and soon you can toggle the highlight and magnifier without opening a menu or breaking your flow.
Also spend ten minutes on your first day cycling through pointer colours against the three or four backgrounds you use most. A bright magenta circle that works beautifully on a dark code editor can vanish against a white browser window. Pick something that stays visible across your usual contexts, even if it means settling on a slightly less flashy colour. Set the glow radius to about a third of the highlight size — enough to create a visible border, not so much that the glow itself becomes a distraction.
Fitting Cursor Pro alongside other apps
The app sits unobtrusively alongside screen-recording tools such as OBS, ScreenFlow or the built-in macOS screenshot toolbar. As long as you share the entire screen rather than a single window, the highlight and magnifier appear in the recording or stream. This matters for anyone who records tutorials: the magnifier can replace the clumsy post-production zooms people often add in editing. Instead of keyframing a zoom, you simply move the cursor to the detail and let the magnifier do the work live.
For teachers using a tablet or an iPad as a secondary display via Sidecar, the pointer highlight behaves as expected on the extended desktop. The magnifier also follows across displays. One quirk worth knowing: if you use a drawing tablet that maps pen position absolutely, the highlight still tracks the system pointer, not the pen tip. This only matters for a small subset of users, but it explains why the highlight sometimes seems slightly offset when switching between mouse and stylus input during a lesson.
The app also pairs well with macOS accessibility features. If you already use the built-in cursor size slider in Accessibility settings, Cursor Pro's highlight layers on top without conflict. The two mechanisms are independent, so enlarging the system cursor does not distort the highlight shape.
Window-share highlight vanishes until you switch to full screen
The most common stumble happens when sharing a window instead of the entire screen in Zoom, Teams or Meet. The highlight simply will not appear in a single-window share. The fix is quick: switch to full-screen sharing in your conferencing app, and the highlight returns. This is a limitation of how macOS composits window-level versus screen-level content, not something the app can override.
Another occasional hitch: the magnifier can feel jumpy on a Mac with a high-refresh-rate external display connected alongside the built-in Retina screen. Reducing the zoom factor by one step usually smooths this out. Similarly, if you notice the highlight stuttering during a CPU-heavy task like rendering or compiling, disabling the pulse effect in the preferences lightens the load. The pulse is a cosmetic nicety; removing it costs nothing in practical use.
A few users looking for a cursor torrent end up with builds that may need a quick settings check to match the auto-hide refinement present in version 2.4. The older behaviour could leave the highlight visible during video playback, which was distracting. If you ever find yourself with a version where the highlight refuses to fade during full-screen video, head into preferences and confirm the media detection toggle is enabled so the current polished behaviour kicks in.
Mouseposé paints a dramatic click disc where Cursor Pro stays subtle
Mouseposé, from the same era of screen-presentation tools, paints a large coloured disc around every click and includes a spotlight feature that dims the rest of the screen. It is visually more dramatic than Cursor Pro and suits recorded demos where every click must telegraph itself. The trade-off is that Mouseposé insists on being the centre of attention; there is no subtle auto-hide mode, and the spotlight effect cannot be toned down independently of the click highlight.
CursorSense takes a different approach entirely. Rather than overlaying a shape, it adjusts the acceleration curve and tracking speed of the pointer itself. It solves a different problem — pointer feel versus pointer visibility — so the two apps rarely compete directly. Someone who struggles to locate the cursor on a busy display will get more practical help from Cursor Pro's highlight than from CursorSense's tracking tweaks.
Presentify sits somewhere between the two. It offers pointer highlighting, screen dimming and on-screen annotation, which makes it a broader presentation toolkit. The annotation feature is genuinely useful for live sketching during a talk. But Presentify's pointer highlight options are narrower: fewer shapes and no integrated magnifier. If annotation matters more than magnification, Presentify may fit better. If you need a clean magnifier and a highlight that disappears gracefully when not needed, Cursor Pro is the more focused tool.