Aspecten
 Download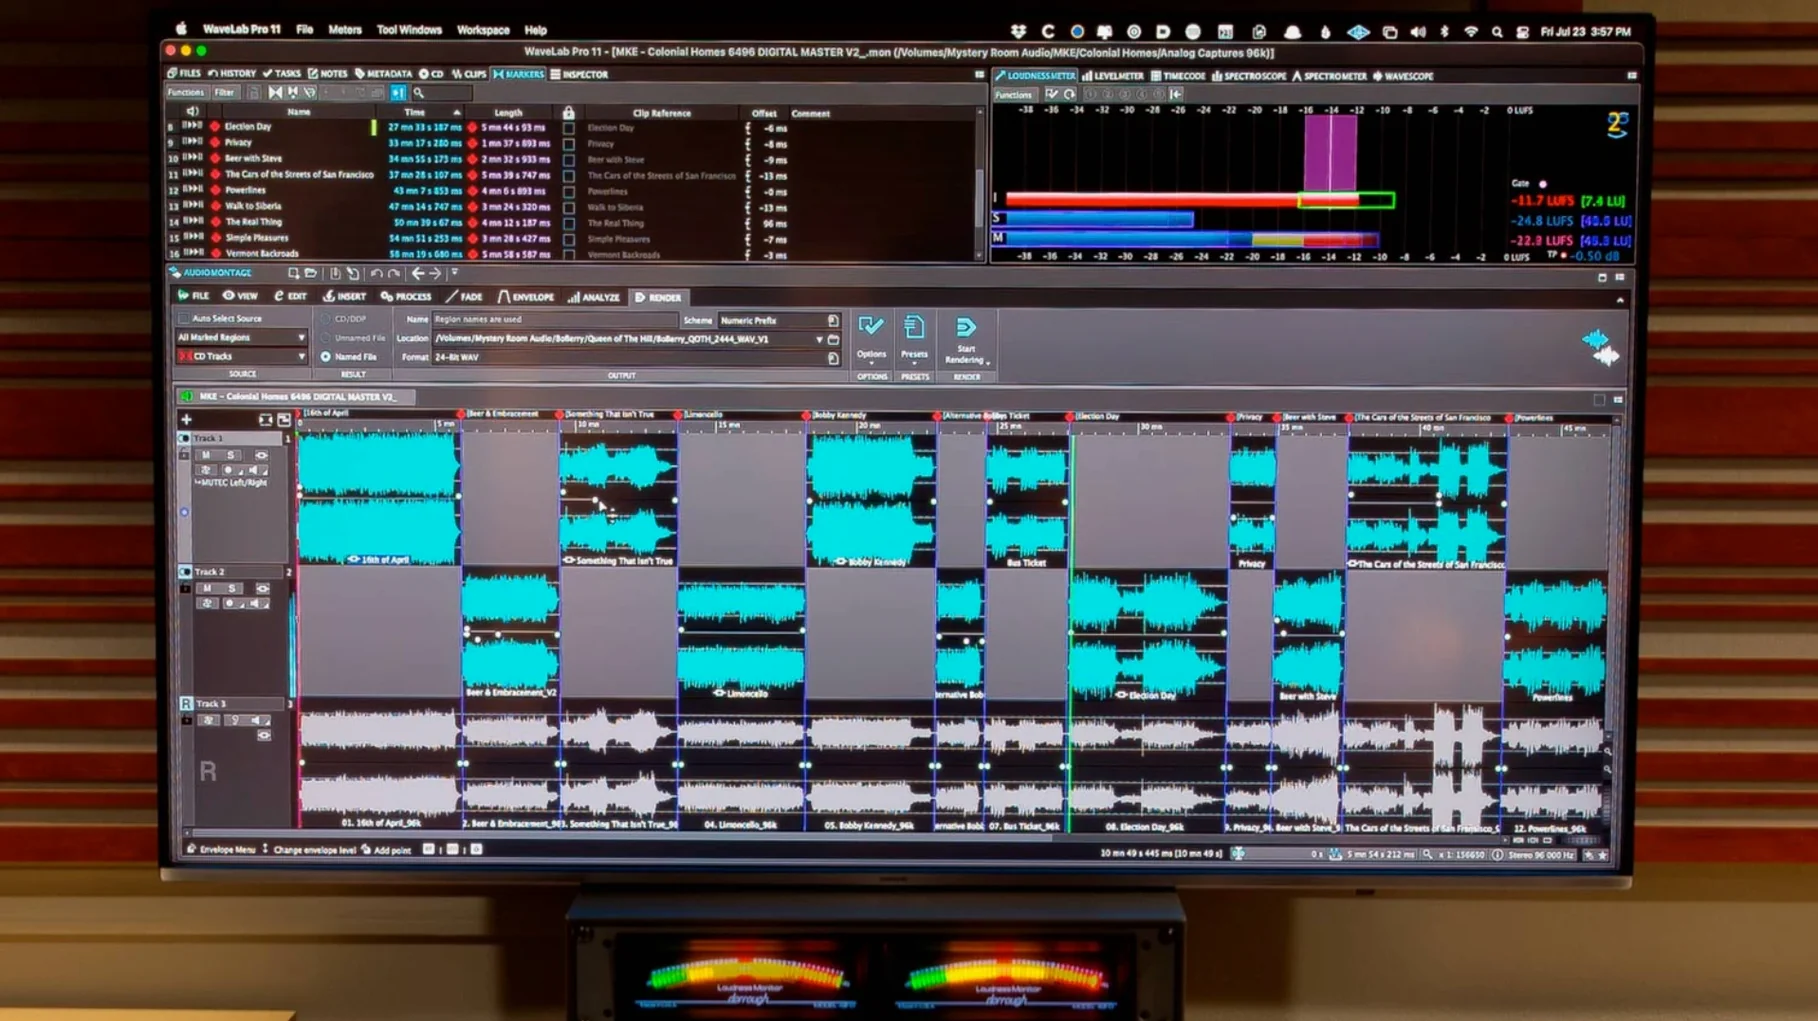
WaveLab Pro is an audio mastering and editing application built around sample-accurate control and a deep set of analysis tools. For someone opening it for the first time, the sheer number of windows and meters can feel a little abstract, but a few areas repay early attention.
Start with the Audio Editor and load a stereo mix. Zoom in until individual samples become visible and drag a selection across a short section to hear how the snap-to-zero-crossing option keeps edits clean. Right-clicking the selection opens a set of processing commands, and the spectral editing view — which shows frequency content as colour over time — is a good place to try removing an unwanted noise without touching the surrounding material. Select a region of the spectrogram, attenuate it, and toggle back to the waveform to hear the result.
Next, open a new Master Montage. This is where track assembly, sequencing and final limiting happen. Drop two or three audio files onto the montage timeline, set track gaps and add a fade between clips. The clip-based effects slots let you apply EQ or gain changes to individual items without rendering them, which keeps the session editable. If you are working with surround material, the montage also supports channel-based Dolby Atmos files, a capability introduced in this version.
Finally, spend some time with the global analysis tools. The loudness meter and phase scope are accessible from any workspace and provide real-time feedback while you adjust a limiter or a stereo widening effect. The interface relies heavily on drag and drop between panels, and copy-and-paste of effect chains works across platforms when moving a project from one machine to another.
Build your default workspace before touching a real project
Set aside an hour to build a default workspace before you start any real project. Open the Audio Editor, the Master Montage, the loudness meter and the phase scope, then arrange them across your screens and save the layout as a custom workspace. Doing this once removes the friction of hunting for panels later, especially when a client is waiting.
Create a small test montage with three short clips — a piece of dialogue, a music bed and a noise segment — and run through the clip-based effects slots on each one. Apply a high-pass filter to the dialogue, adjust the gain on the music bed and leave the noise untouched for later spectral work. Knowing where the per-clip controls sit makes the first paid session considerably smoother.
If you downloaded WaveLab Pro through a torrent, such as a wavelab mac torrent or a wavelab free download torrent for mac, run a short null test after installation to confirm the audio engine handles bit-transparent playback. Load a known reference file, render a copy with no processing applied and compare the two. The render should null completely. A wavelab pro torrent that activates without issue can benefit from this sanity check before you commit a master.
Spend the first afternoon reading the Montage Inspector, not just clicking. The inspector controls crossfade length, clip gain and envelope automation per track, and understanding its layout prevents the common mistake of hunting for clip-fade handles in the waveform display when they are actually set numerically in the panel.
Delivering broadcast and streaming masters with loudness compliance
Mastering engineers who deliver stereo and surround projects for broadcast or streaming are the first group that comes to mind. The loudness-compliant metering, the per-clip processing and the Dolby Atmos montage support introduced in version 13.0.30 align closely with deliverables that require EBU R128 or ATSC A/85 compliance, and the ability to include channel-based surround files in an Atmos montage removes a round-trip step that other workflows require.
Audio restoration specialists also sit firmly inside the target audience. The spectral editing view offers frequency-selective attenuation that works well on hum, string squeaks and short broadband noises, and the forensic analysis tools give them a way to examine recordings for authenticity or detail that a waveform alone hides. Users who find a wavelab torrent and install it on an older Intel Mac will still get the full spectral resolution, provided the machine runs macOS 13 or later.
Post-production editors who work inside Cubase 13, Nuendo 13, Reaper 7 or Studio One 6.5 benefit from the ARA plug-in integration. Instead of exporting stems and opening them in a separate application, they can open an audio range directly in WaveLab from the DAW timeline, apply processing and return the result with or without effects. This tightens the loop between editing and mastering in a way that suits sound designers handling long-form material.
Auto-scaling peak display keeps your waveform visible as you zoom
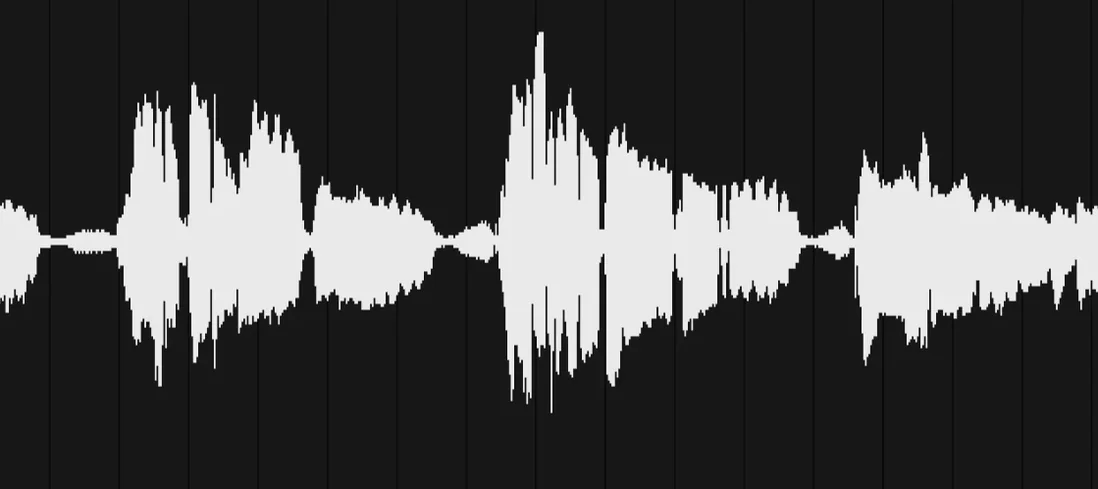
The automatic peak scaling in the waveform display is a quiet time-saver. When you scroll or zoom, the waveform resizes its amplitude view to keep peaks visible without clipping the display, so you spend less time adjusting vertical zoom manually. It is enabled by default, but the behaviour can be toggled if you prefer a fixed scale.
Synchronised file and montage navigation is another subtle feature. Activate it from the View menu and moving the cursor in the Audio Editor scrolls the montage to the same position, and vice versa. When you are checking a clip in isolation while keeping an ear on its context in the montage, this linkage removes a lot of back-and-forth clicking.
Drag and drop between applications extends further than many users realise. You can copy an effect chain from WaveLab and paste it into another instance on a different machine, and the same drag gesture works with audio ranges transferred to a compatible DAW. The clipboard holds effect settings as structured data, not just text, so the transfer preserves parameter values exactly.
Snap to zero crossing prevents clicks you cannot fix later
The first mistake is ignoring the snap-to-zero-crossing option during edits. Cutting at a non-zero point introduces a click that no amount of later restoration can fully clean, and the fix is a single checkbox in the Audio Editor toolbar. Make a habit of checking it is enabled before you start trimming.
Another early error is applying processing directly to the source file instead of working non-destructively in the montage. The Audio Editor can render effects permanently, but the montage keeps clip-based processing as metadata until you explicitly render. Beginners who treat the Audio Editor as the main workspace often lose the ability to tweak an EQ later, especially when a revision comes back from the client.
Overlooking the HRTF profile option for binaural monitoring in Dolby Atmos is also common. The feature supports loading a personal head-related transfer function to improve spatial accuracy during headphone checks, but many users leave it at the default setting without realising their own profile yields a more reliable translation. If you have access to a measured HRTF, load it early and keep it active for all Atmos sessions.
Finally, some users who obtain a wavelab for mac build from a torrent skip the step of verifying that the ARA plug-in bridge registers correctly with their DAW. Launch the host, insert the plug-in on a track and confirm it opens without a missing-component alert. Catching this before a session starts avoids a scramble when the client is in the room.