Aspecten
 Download (789 MB)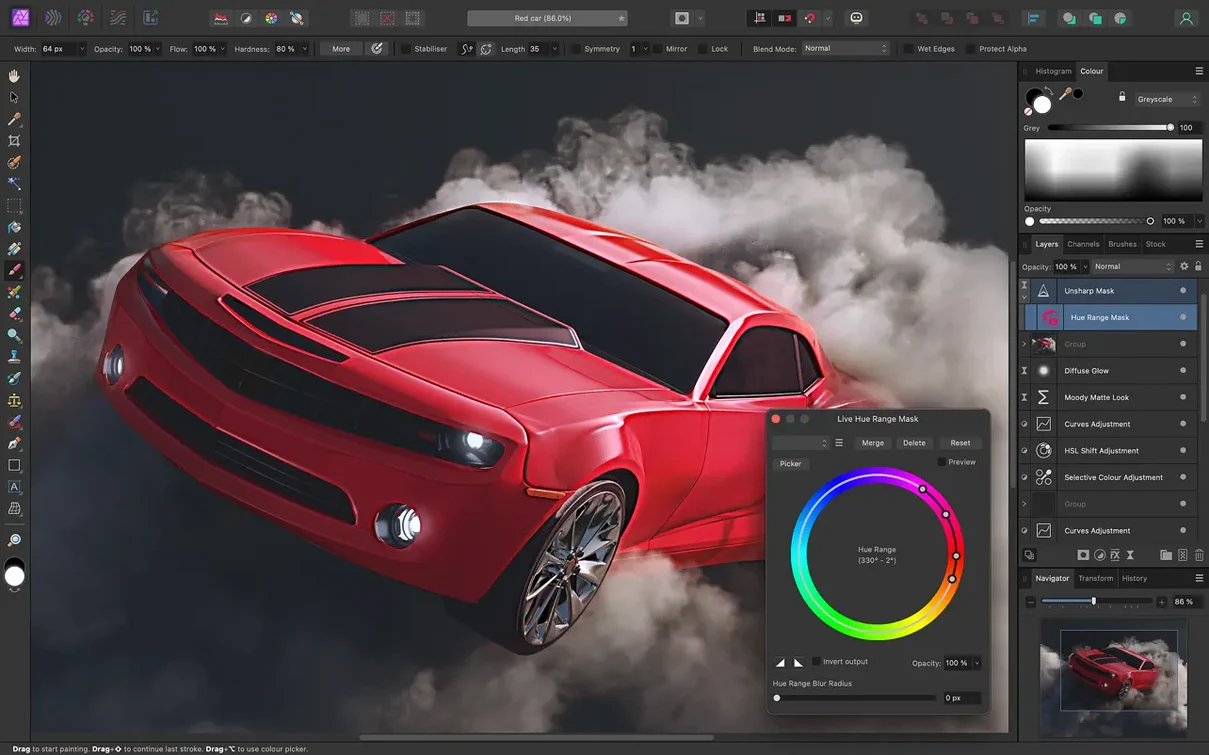
Affinity Photo is a photo editor built around a nondestructive layer system, with live filters, RAW processing, and retouching tools gathered into one application. Version 2.6.5 runs on Intel and Apple silicon Macs.
| Aspect | Detail |
|---|---|
| Developer | Serif Labs |
| Requirements | macOS 10.15 Catalina |
| Interface languages | English, German, Spanish, Italian, Portuguese, French, Japanese, Simplified Chinese |
| File support | Opens and saves PSD; edits 16‑bit and 32‑bit images per channel |
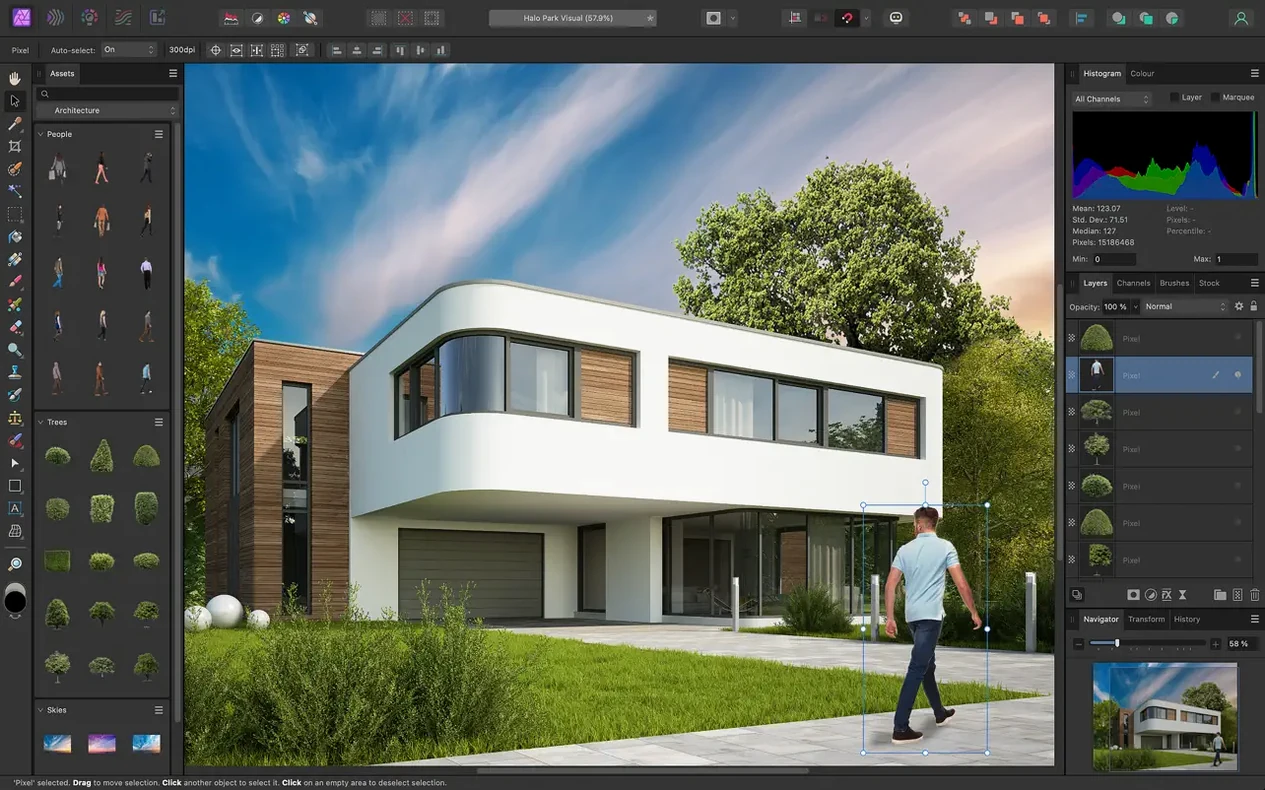
Layers sit at the centre of the workflow. You can stack unlimited layers, organise them into groups, and attach adjustment layers, live filter layers, and masks without baking the result into the pixels. Edits stay adjustable, so a sharpening mask or a colour balance tweak can be revisited days later. The edit history can be saved inside the document, which helps when a project is handed between sessions or machines. For repetitive corrections, the macro recorder captures a sequence of steps and plays it back on other images.
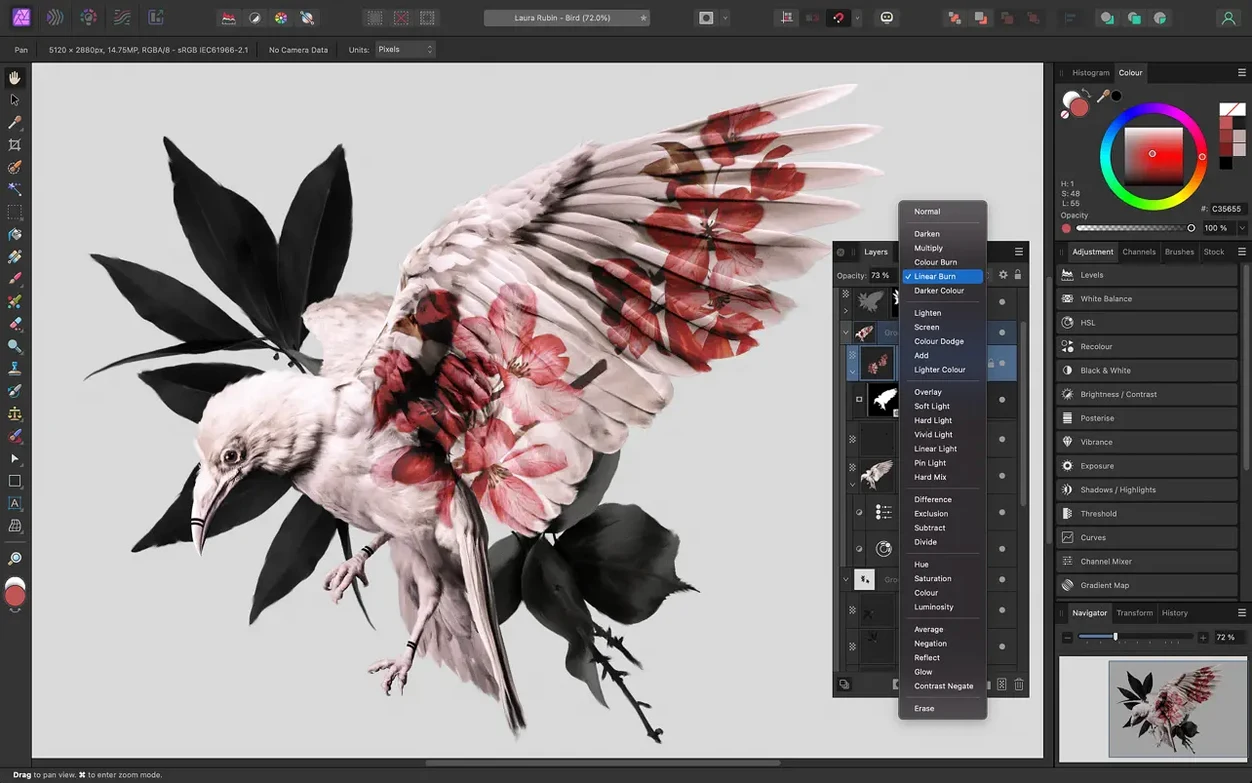
Retouching tools include a dedicated brush for removing unwanted objects, and the brush engine responds to pressure, tilt, and shortcut buttons on Wacom and other graphics tablets. Blend modes and real-time previews make it practical to build composites that remain editable right up to export. One limitation to keep in mind is that the macro system cannot record every tool action, so complex freehand brushwork is best done without relying on playback.
Cold-launch speed on Apple silicon
On Apple silicon Macs the app launches in under three seconds cold, and once the workspace is loaded there is no perceptible lag when opening 50-megapixel RAW files from a modern camera. Canvas navigation at 100% zoom with a dozen live filter layers applied still pans smoothly, helped by Metal acceleration that uses the GPU for rasterisation and compositing. Memory use is moderate: a document with 15 adjustment layers and three live filters hovers around 1.2 GB of RAM on an M-series machine, leaving room for a browser and a mail client alongside without pressure.
On older Intel Macs the story is different but not dramatic. A 2019 MacBook Pro with 16 GB of RAM handles the same document at similar memory figures, though applying a heavy Gaussian blur live filter across a 6000-pixel canvas introduces a half-second redraw delay. The app rarely beachballs during normal retouching; when it does, the culprit is usually a combination of large panoramas and the inpainting brush run across the full image width. Stability has been solid through the 2.6.x releases — unexpected quits are uncommon, and the recovery file system has brought back unsaved work reliably in the few edge cases encountered.
Machine-learning selection edges refined in 2.6
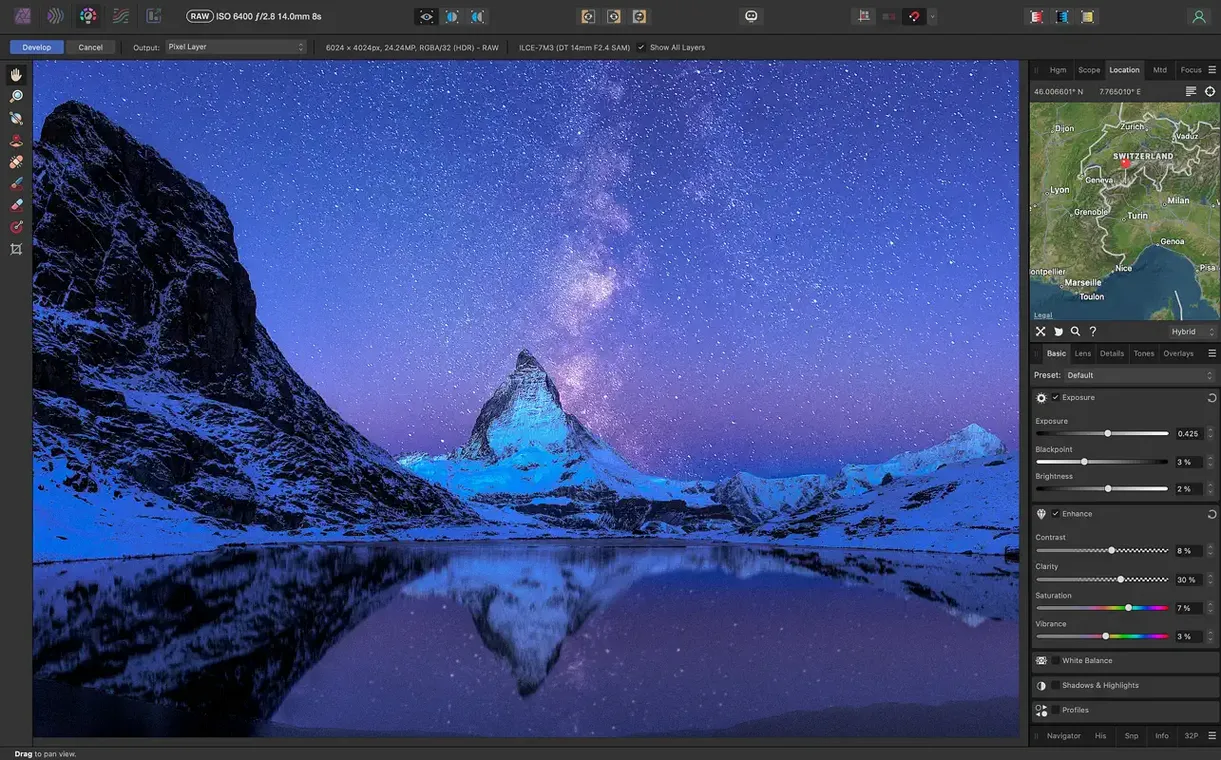
Version 2.6 arrived with refinements rather than overhauls. The most visible shift was in the machine-learning selection tools: the object selection brush gained noticeably cleaner edges on fur and foliage, and the workflow for refining a mask after the initial selection now requires fewer manual touch-ups. The RAW engine received updated camera profiles, which improved default colour rendering for recent Sony and Canon bodies — fewer blown reds and less yellow cast under tungsten light.
Layer handling also got a practical improvement. Dragging a layer from one document to another now preserves its name, blend mode, and opacity, which was not always the case before. For anyone who builds composites from multiple source files across several affinity photo 2 torrent releases, this small change removes a repetitive correction step. The macro panel gained the ability to record a few additional brush-based actions, though freehand strokes with the paintbrush tool remain outside its scope. Performance under Ventura and Sonoma was polished, and the app no longer triggers the occasional screen-artefact issue that appeared in 2.5 on external displays connected via USB-C hubs.
Leaving RAW edits unfinished in the Develop persona
One common stumble is treating the Develop persona like a finished edit. Users open a RAW file, adjust exposure and white balance, then click Develop and expect a polished image. The Develop workspace is a pre-processing stage — its job is to produce a well-exposed, neutral base that feeds into the Photo persona, where the real retouching happens. Pushing contrast and saturation too far before developing locks in tonal extremes that are hard to undo later.
Another early slip is ignoring the assistant manager. By default, the assistant applies a tone curve and some noise reduction to RAW files automatically. Beginners who turn it off without understanding it often end up with flat, noisy images and blame the RAW engine. Leaving the assistant on while learning the tool, then tweaking its behaviour per camera profile, yields better first results.
Layer ordering trips up those arriving from simpler editors. Placing a pixel layer below an adjustment layer means the adjustment applies to everything underneath — it sounds obvious, but when someone adds a Curves adjustment to brighten a sky and finds the whole image brightened, the problem is usually layer placement, not a broken adjustment. Beginners also tend to rasterise layers too soon. A live Gaussian blur on a duplicate background layer can always be adjusted; rasterising it to paint a mask by hand is fine, but doing it without a backup layer destroys the flexibility the app is built around.
The inpainting brush works best on a new empty pixel layer set to "Current Layer & Below" — a newcomer who paints directly on the background layer has no easy way to refine the result later. And the clone tool's default "Current Layer" source setting often confuses: switching it to "All Layers" or "Layers Beneath" makes non-destructive cloning possible on a separate layer.
Linked .afphoto files across the Affinity suite
Affinity Photo shares its native file format with Affinity Designer and Affinity Publisher. A .afphoto file opened in Publisher becomes a linked or embedded image that can be edited in Photo with a single click, and the changes flow back automatically. Designer users can open the same file to access vector elements placed alongside raster layers — useful when a photo composite needs a logo or typography that stays crisp at any scale.
With other software, the bridge is PSD. Photoshop users can open layered PSD files with most blend modes and adjustment layers preserved; sending a file back to a collaborator works best when smart objects are avoided, since those rasterise on import. The app also exports flattened TIFFs with embedded colour profiles that Lightroom and Capture One read without complaint.
macOS integration goes beyond basic file dialogs. The app registers as a system-level editor for common formats, so selecting a JPEG in the Finder and pressing the spacebar for Quick Look, then clicking "Edit with Affinity Photo", opens it directly. The share menu can send a flattened copy to Apple Mail or Messages without creating an intermediate file by hand. ColorSync-aware, it respects the display profile set in System Settings and handles P3 wide-gamut workflows on compatible MacBook Pro and iMac screens. A minor friction point: the app does not expose its file format to Spotlight for content searching, so finding a specific .afphoto by layer name or embedded keyword still relies on manual organisation in the Finder.
Those who source software through channels like affinity photo mac torrent distributions will find the application's internal updater expects a signed receipt, so manual updates keep everything running smoothly when the standard verification path is absent. The file format remains fully compatible regardless of distribution source.
A focus-stacking workflow from start to finish
Scenario: a set of 15 macro shots of a watch movement, taken on a tripod at f/5.6 with focus stepped manually from the nearest gear to the deepest jewel. The goal is a single image with the entire mechanism sharp.
Step 1 — Import and group. Open Affinity Photo and choose File > New Focus Merge. In the dialog, click Add and select all 15 RAW files. The app aligns them automatically; leave "Automatically align images" checked. Click OK and wait — on an M1 Mac the merge takes about 20 seconds for 24-megapixel source files.
Step 2 — Inspect the result. The merge produces a new document with a single pixel layer. Zoom to 100% and scroll across the image. Check areas where fine metal edges overlap — the algorithm occasionally picks a softer source frame at a boundary. If a gear tooth looks smeared, note the location.
Step 3 — Clone from source frames. The focus merge dialog keeps the source images open as separate documents. Go to the smeared area, select the Clone Brush tool, set the source to one of the source documents, and pick a sample point on the sharp frame. Paint the correction onto a new empty pixel layer above the merged layer, set to "Current Layer & Below" mode. This keeps the original merge intact.
Step 4 — Tonal adjustments. Add a Levels adjustment layer to set the black point for the metal shadows. Add a Curves adjustment layer with a gentle S-curve for contrast. Both remain live and editable. A Vibrance adjustment at +12 lifts the ruby jewel tones without oversaturating the steel.
Step 5 — Dust cleanup. On a new empty pixel layer above the adjustments, use the Inpainting Brush at a size just larger than each dust spot. Work at 100% zoom, clicking once per spot rather than dragging. The tool samples surrounding texture and fills the spot cleanly. Because the corrections sit on their own layer, they can be erased individually without affecting the merge or the tonal work.
Step 6 — Sharpening and export. Add a live Unsharp Mask filter at the top of the layer stack. Set Radius to 1.2 px and Factor to 1.5, then mask out any areas where halos appear on bright metal reflections. For web delivery, export via File > Export, choose JPEG, set quality to 85%, and embed the sRGB profile. For print, export a TIFF in Adobe RGB with LZW compression and 16-bit depth. The document saves as an .afphoto file with the full layer stack intact, ready for revisions six months later.