Aspecten
 Download (182 MB)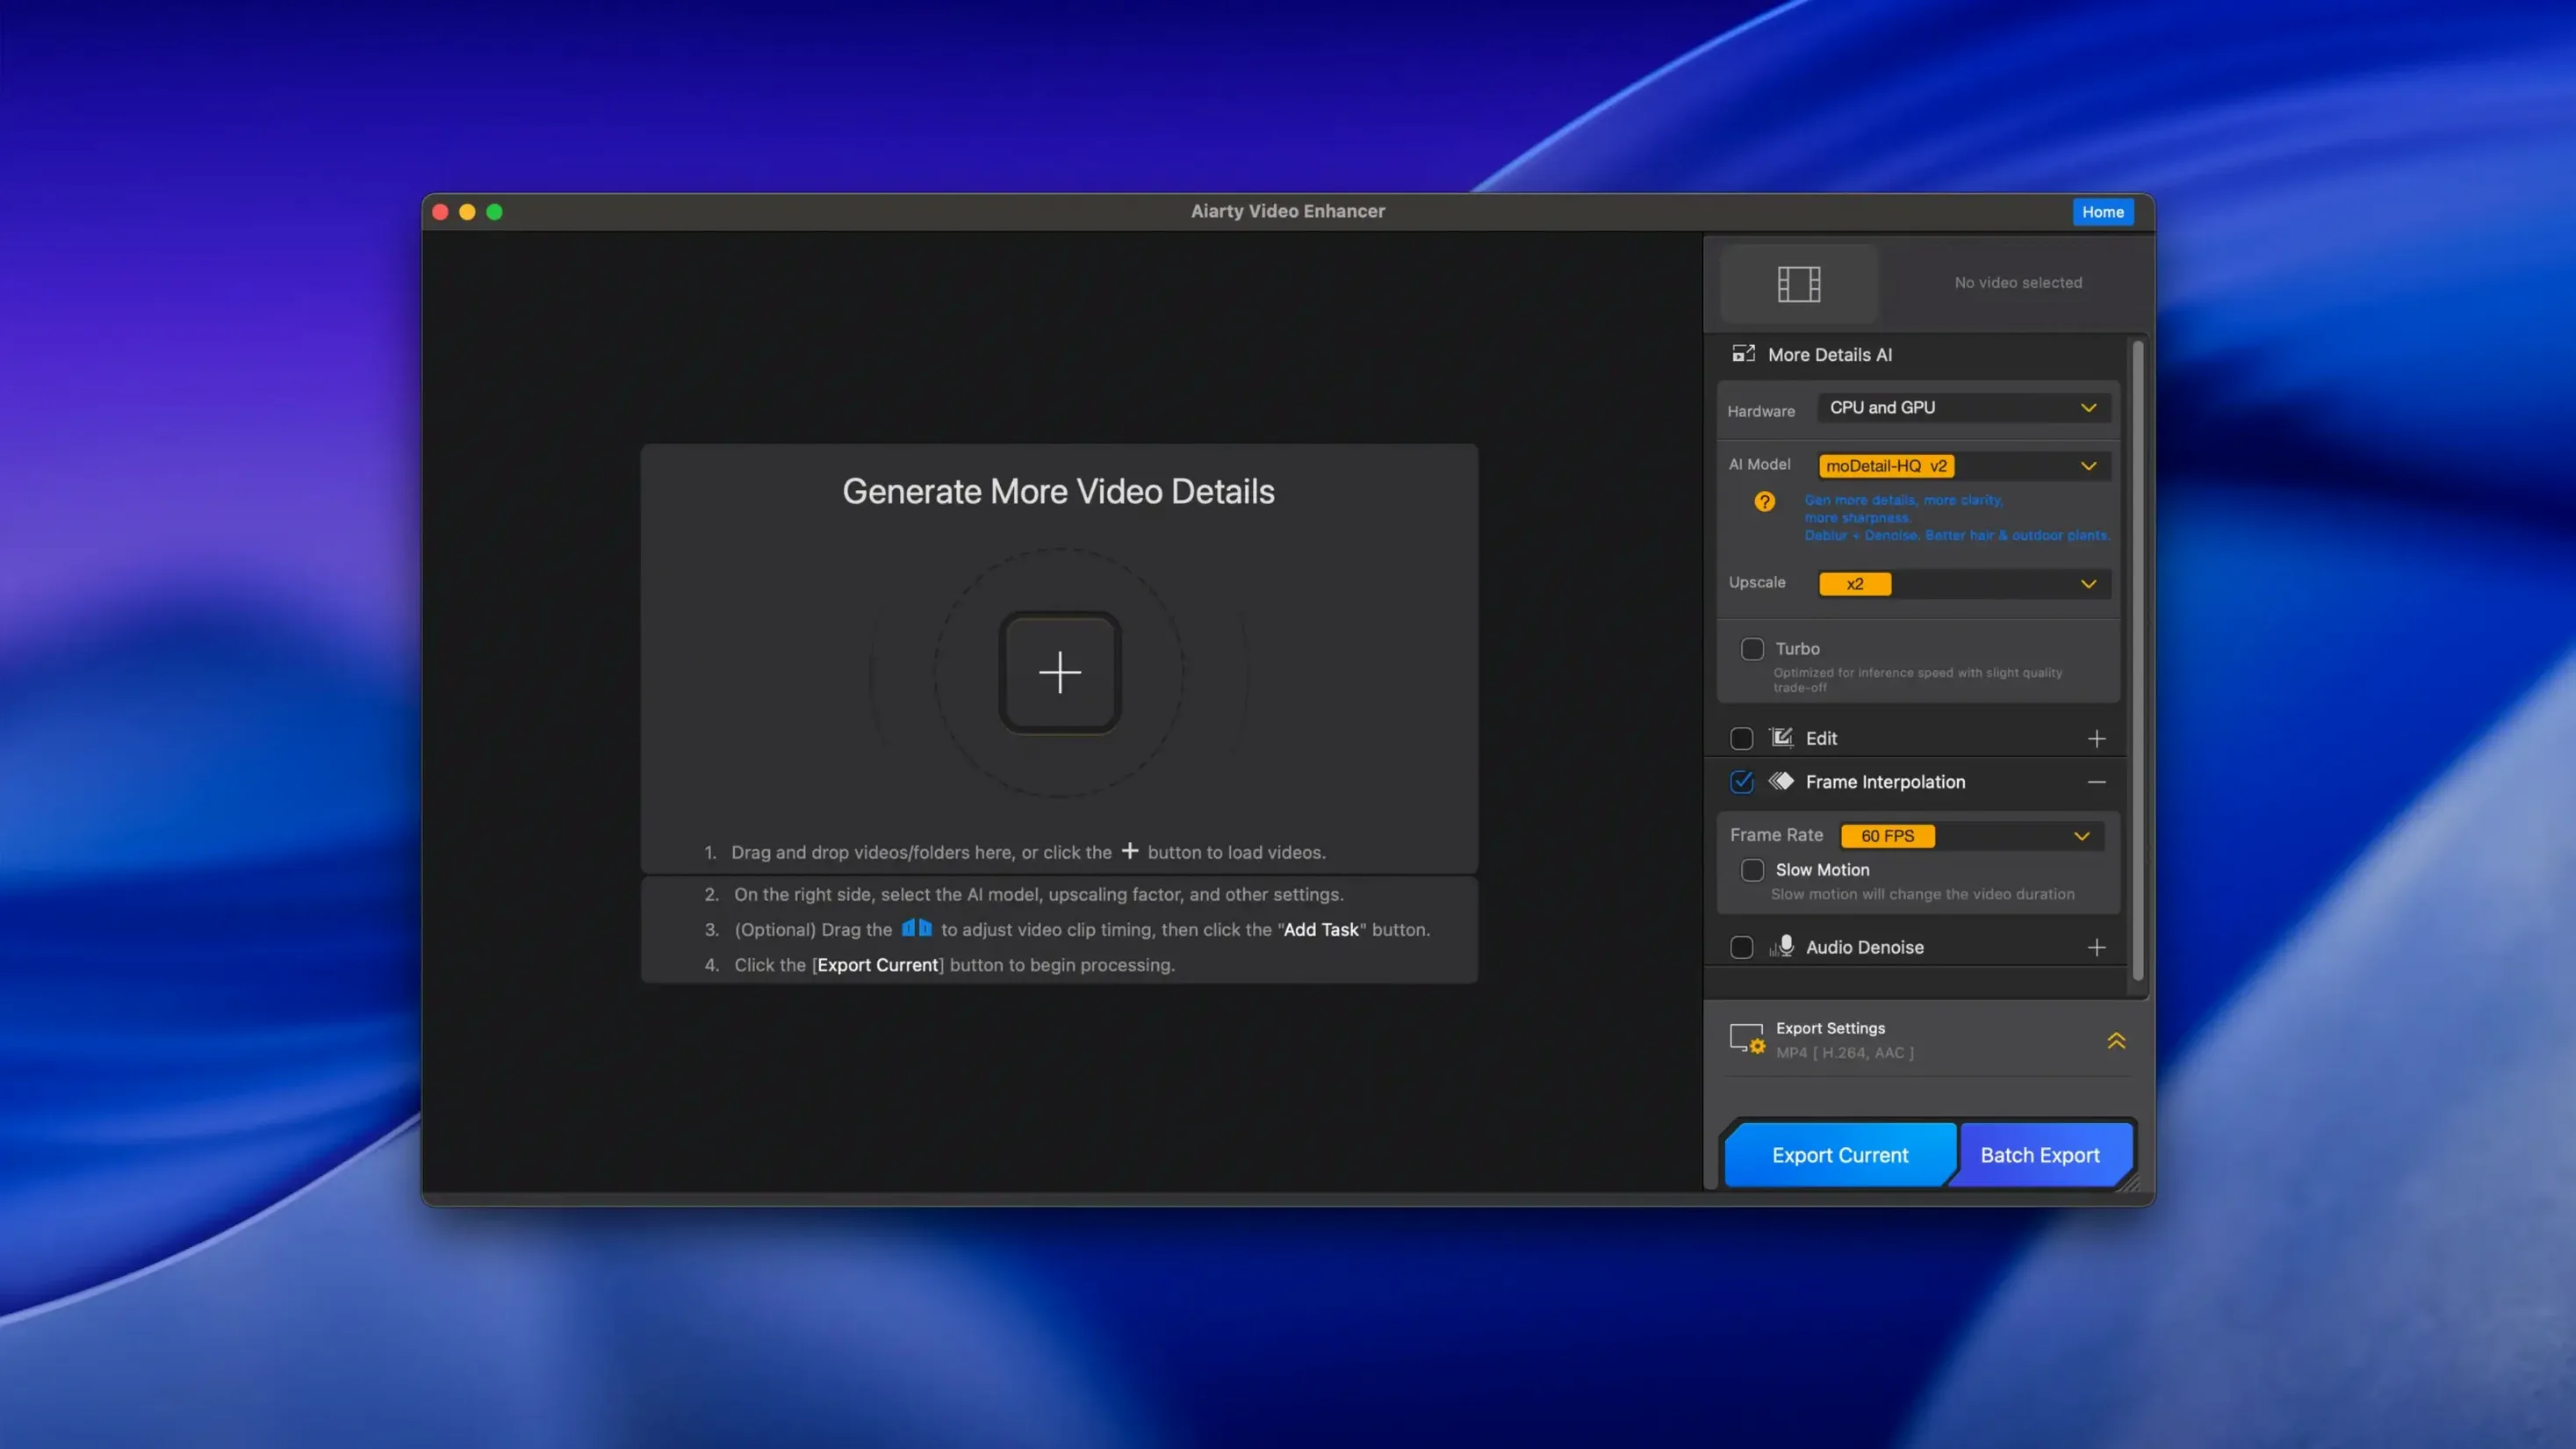
How it relates to a familiar tool
If you have used Aiarty’s image upscaler, the interface territory will feel familiar. The video enhancer is a separate desktop application built around the same principle — letting AI models do the heavy lifting — but aimed at moving footage rather than stills.
Workflow, step by step
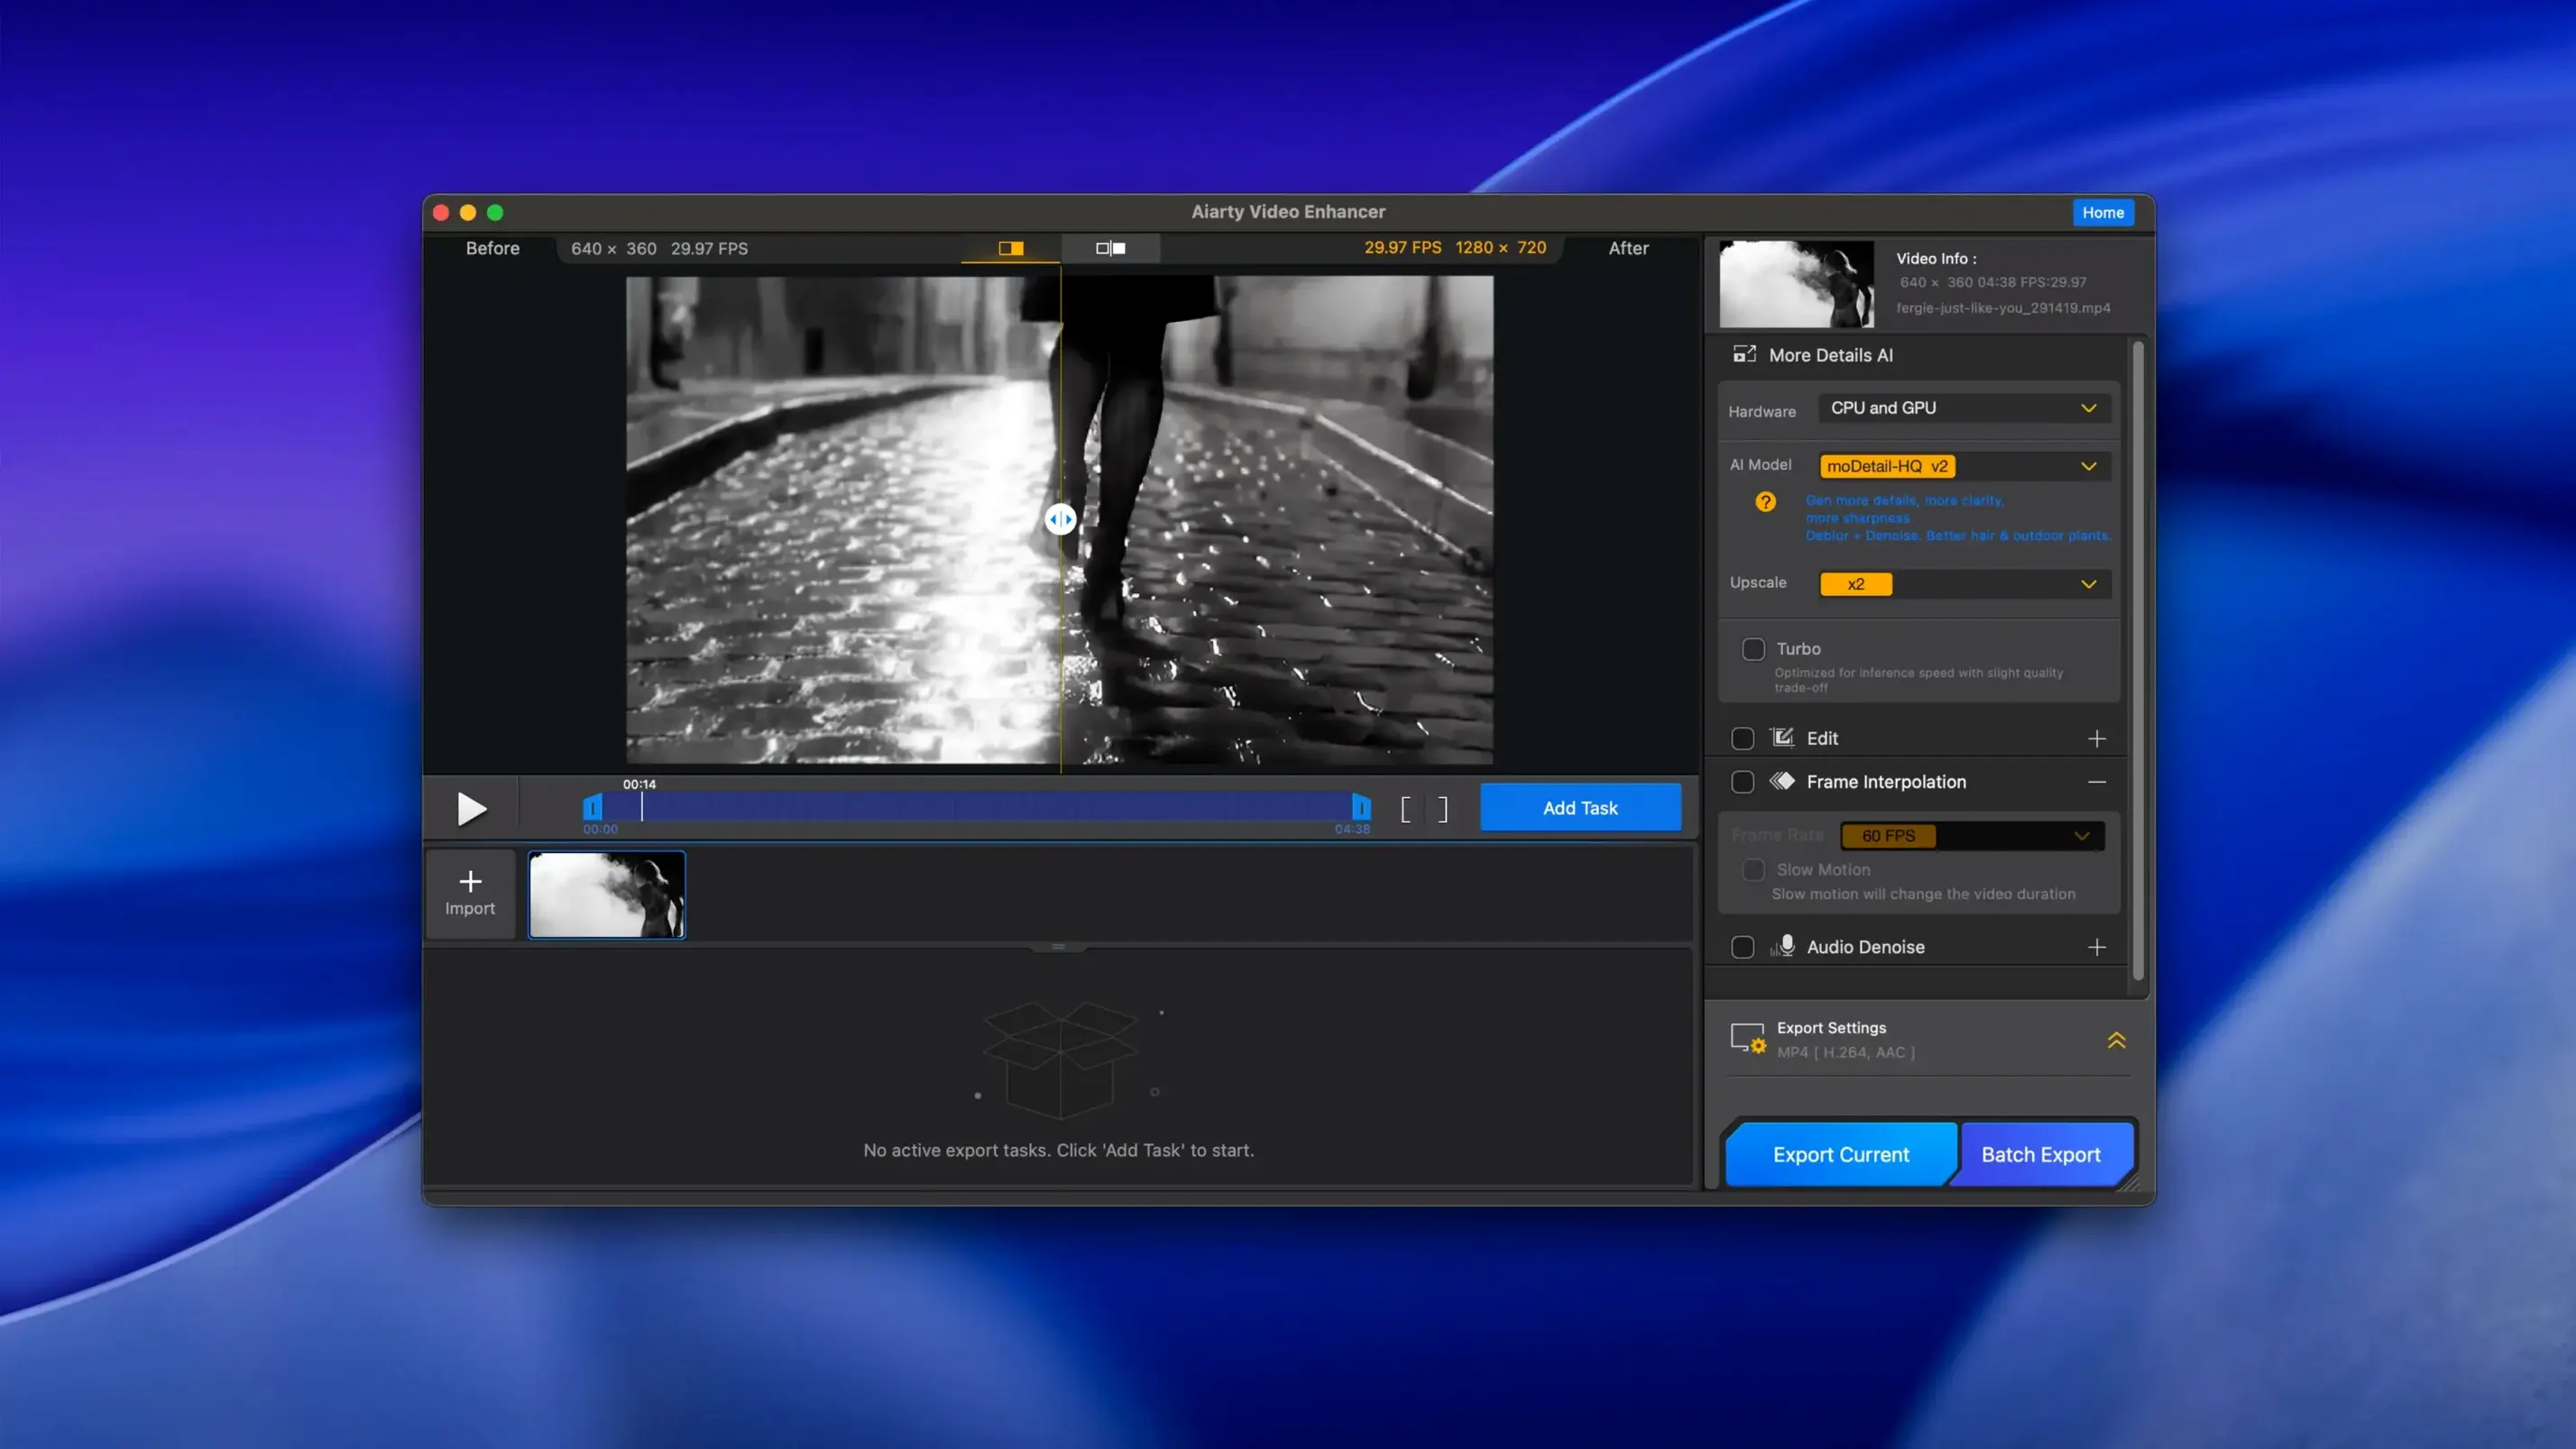
- Load your source file. The app accepts clips that are noisy, soft, or low-resolution. Version 3.8 added MKV support alongside existing container formats.
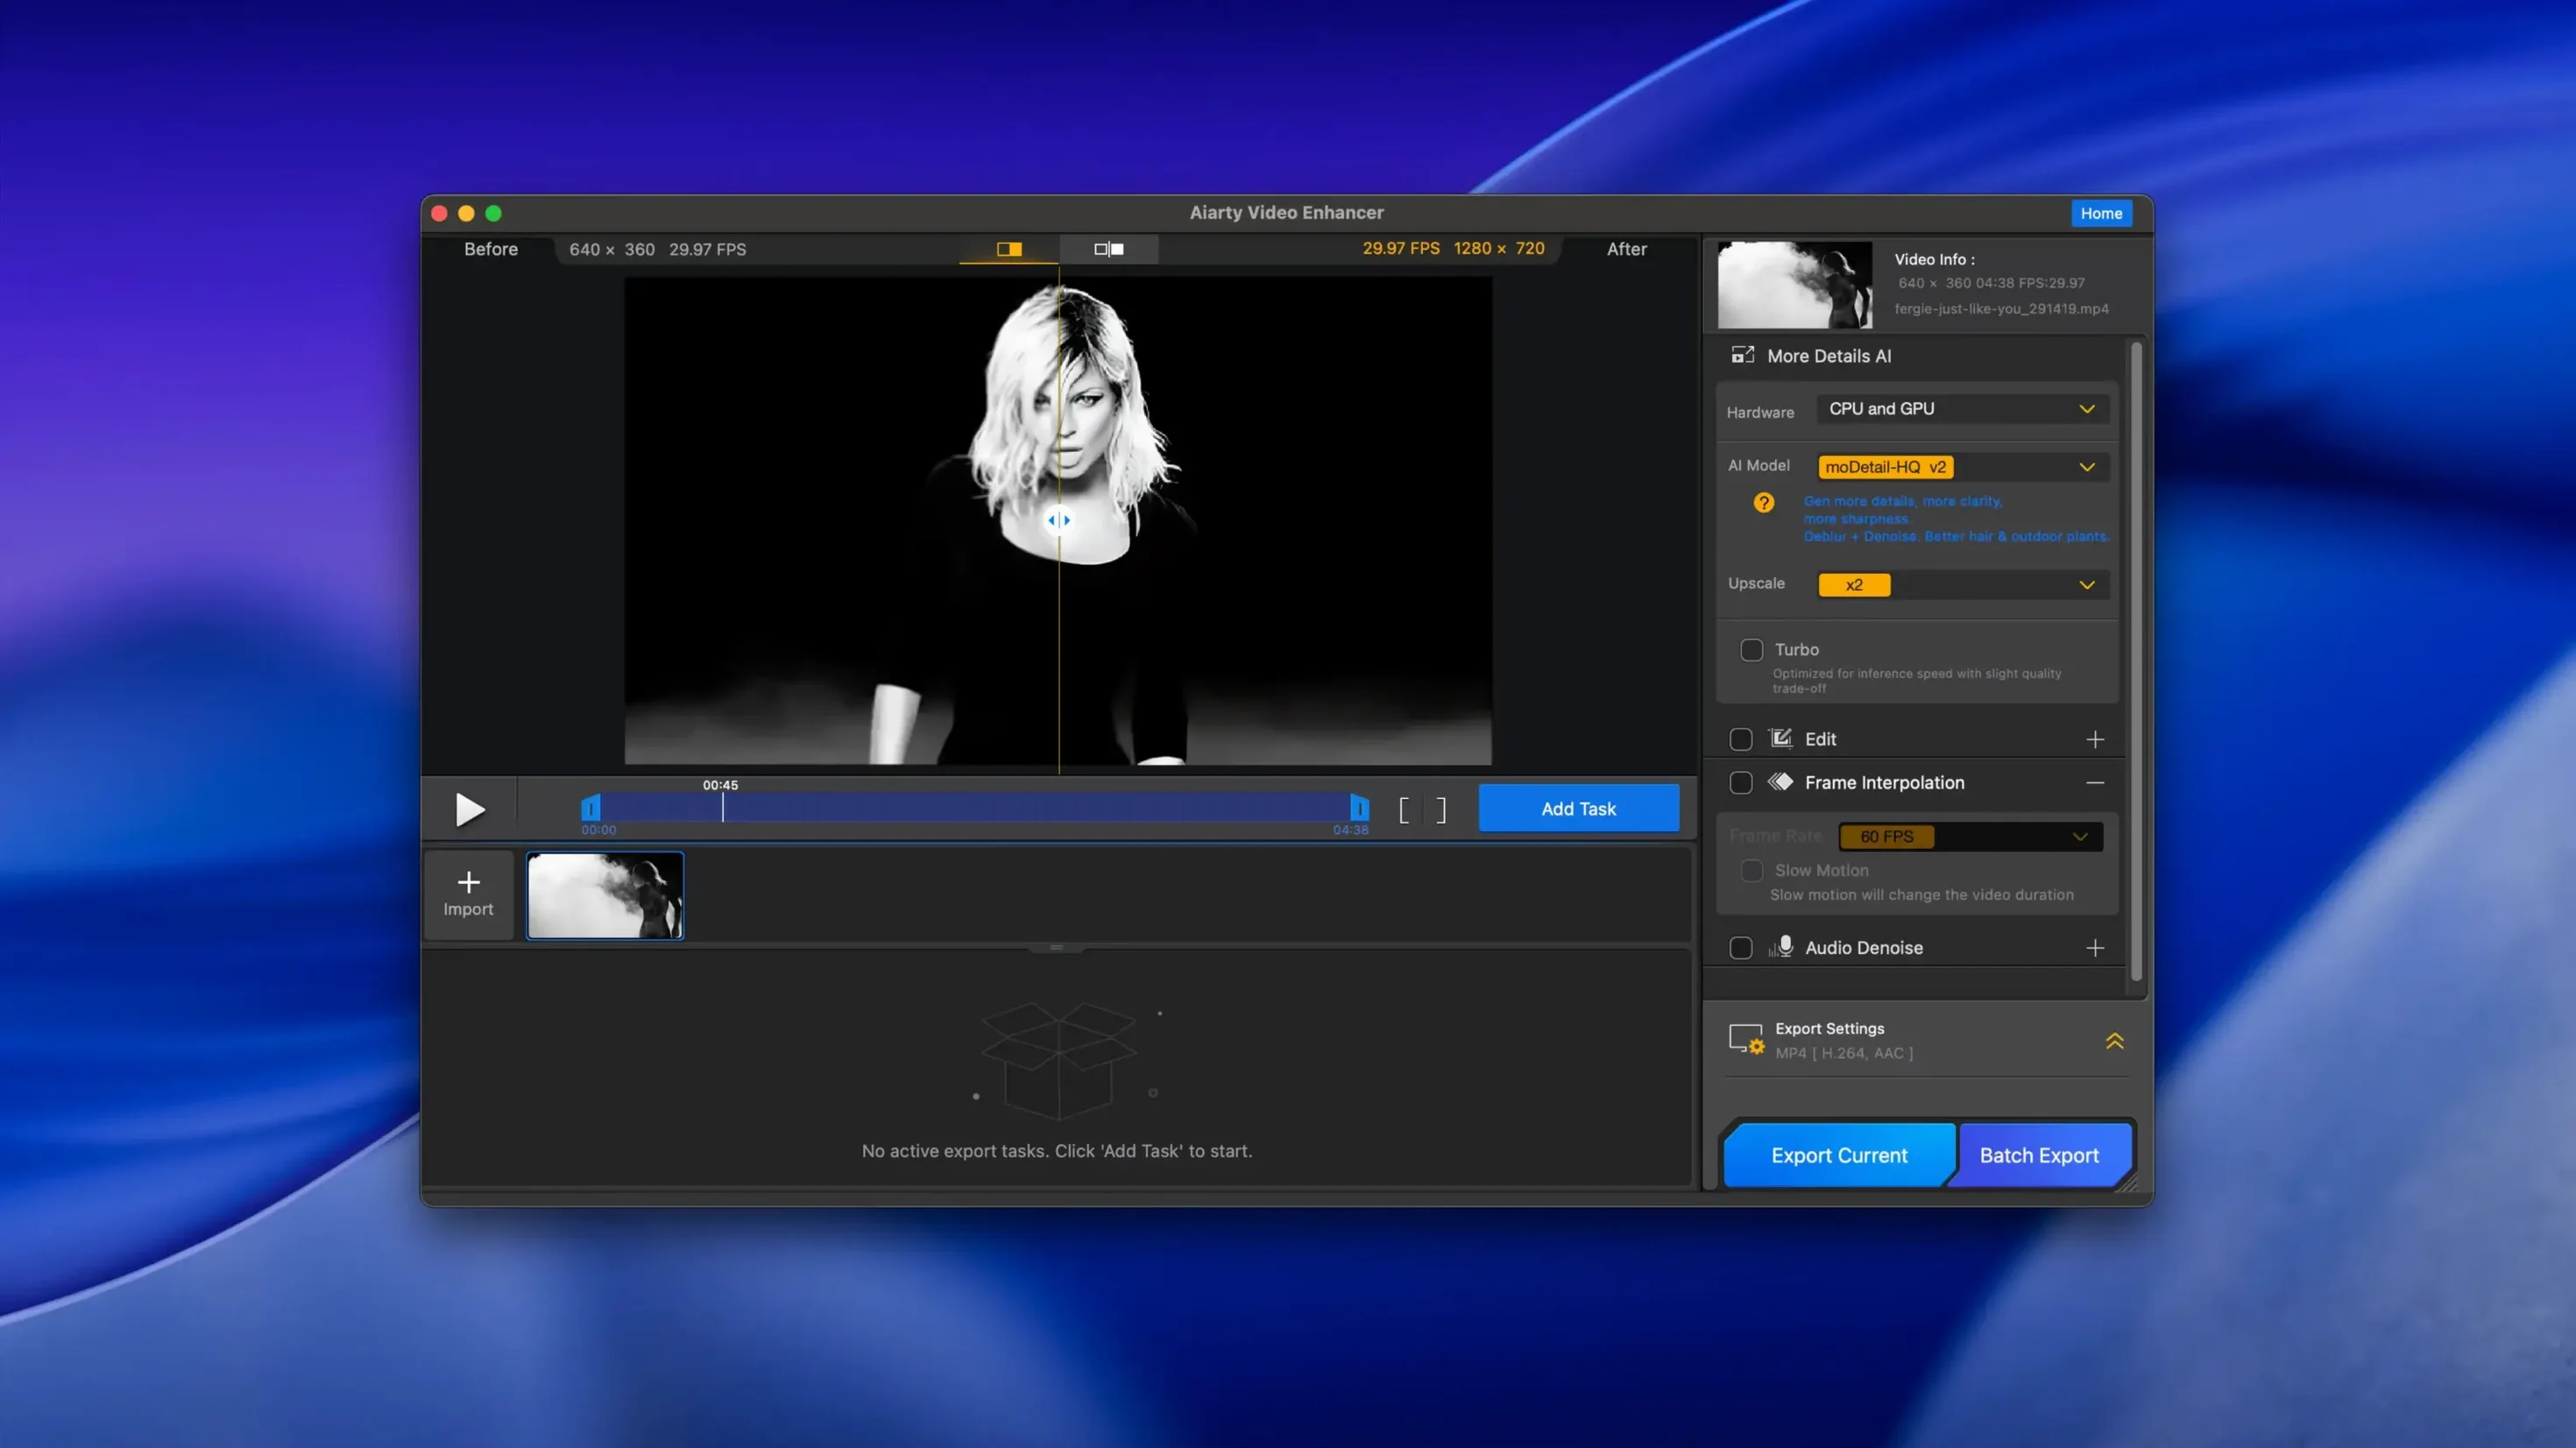
- Choose what to fix. You can apply upscaling, denoising, deblurring, or a mix. Each job uses a dedicated AI model that adds plausible detail while pulling the image toward 4K clarity.
- Set slow-motion if needed. Frame interpolation builds smooth 8× and 16× slow motion without stutter.
- Clean the audio in one click. The Audio Denoise module strips background noise and lifts voice clarity in a single pass.
- Export with confidence. Version 3.8 introduced resumable exports, so an interrupted render picks up where it left off.
The tool runs on Apple Silicon and Intel processors under macOS 11 or newer. A dedicated GPU with 4 GB VRAM or more is recommended on Intel Macs to keep processing times practical.
Comparisons with other Mac enhancers
Three apps tend to surface when people search for AI video enhancement on macOS. Aiarty takes a different path from each.
Topaz Video AI has the broadest model library — stabilisation, slow-motion, deinterlacing — and it gives you fine sliders for almost every parameter. The trade-off is complexity. A new user can spend an afternoon learning which model pairing suits a particular clip. Aiarty pares that down. You pick upscaling, denoising, deblurring, or a sensible combination, and the app handles model selection. You lose Topaz’s granular control but gain a session that finishes before lunch.
HitPaw Video Enhancer shares Aiarty’s simpler ethos but locks its best models behind an online connection. Aiarty runs all processing locally. That matters when you are working with client footage under an NDA, or when your upload speed is mediocre and a 20 GB source file would spend half its life in transit.
Video2X, the open-source upscaler, is free and lightweight. It does one thing — resolution bump via Waifu2x or Real-ESRGAN — and does it competently. But it has no integrated audio cleaning, no frame interpolation, no resumable exports, and it expects you to be comfortable in a command-line environment. Aiarty bundles all four jobs in a single GUI, which is the practical difference when a project lands on your desk with both grainy picture and hissy sound.
Drag a clip onto an AI model tile to skip the file picker
A handful of details sit slightly out of view in daily use. Noticing them early saves time.
- Drag-and-drop everywhere. Beyond the obvious file area, you can drop a clip straight onto an AI model tile to queue it with that model pre-selected. Useful when you have three clips needing different treatment.
- Model memory between sessions. The app remembers your last-used model and settings, even after a restart. If you process a batch of similar footage over several days, you open the app and it is already set correctly.
- Frame-interpolation preview. Before committing to a full export, you can scrub through a short preview of the interpolated frames. The preview runs on a 5-second segment, so you can spot motion artefacts early without waiting for a complete render.
- Export queue ordering. Dragging items in the queue reorders them. You can push a short, urgent clip ahead of a long batch without clearing and re-adding everything.
- Audio Denoise as a standalone step. The audio module works independently of video processing. If your picture is fine but the location sound is a mess, you can run only the audio pass and export a cleaned WAV or the remuxed clip.
Rescuing a soft, noisy 480p MiniDV clip from fridge hum
Imagine a Tuesday morning. An old family clip lands in your inbox — SD MiniDV footage, transferred years ago to a 480p MP4. The picture is soft and smeared by low-light sensor noise. The audio carries a persistent refrigerator hum.
You mount the Aiarty disk image, drop the app into Applications, and open it. The main window presents a dark panel with a large drop zone. You drag the MP4 onto it. The clip appears in the source list, thumbnail generated within a few seconds.
You tick Upscale and set the target to 4K. Under Denoise, you select the medium-strength model — the default is often sensible, but the preview pane shows a few stubborn grain patches, so you nudge it up one level. Deblur stays off; the footage is soft but not motion-blurred beyond recognition.
Next, you switch to the Audio tab and enable Audio Denoise. A waveform thumbnail updates to show the estimated noise floor. The hum is steady enough that the default profile catches it immediately. You toggle the before/after preview with the spacebar — the hum drops away, voices remain present.
You glance at the queue. Only one clip today, but you note the Export format is set to HEVC in an MKV container, a new option since version 3.8. You change it to H.264 MP4 for compatibility with the relatives who will watch it on an ageing tablet.
You hit Start. The progress bar inches along. Halfway through, you need to leave the house, so you pause the export and close the lid. When you return and reopen the app, the resumable export picks up exactly where it stopped. Twenty minutes later the file is ready. You open it, skim through — the faces have regained texture, the fridge hum is gone, and the motion feels natural. You drag the result into a shared folder and get on with the rest of your morning.
Switch to H.264 when HEVC video stutters on older hardware
The out-of-the-box defaults are reasonable, but a few preferences reward an early visit.
- Export format and codec. The app defaults to HEVC, which saves space but can cause playback headaches on older hardware. If your destination device is more than five years old, switch to H.264. The MKV container is new in version 3.8; use it if you need multiple audio tracks, otherwise MP4 keeps things simple.
- GPU preference. On Intel Macs with a dedicated GPU, check that the app is actually using it. The settings panel lists available compute devices. If the integrated Intel GPU is selected, switching to the AMD or Nvidia card cuts export times noticeably.
- Temporary file location. By default, Aiarty writes intermediate frames to your boot drive. If you are working with a 4K source and upscaling further, that can fill 100 GB quickly. Point the temp directory to an external SSD with room to breathe.
- Preview quality. The live preview defaults to a half-resolution proxy to stay responsive. If you need to judge fine detail before committing, switch it to full resolution — it will stutter more during scrubbing, but the detail check is worth the trade-off for critical shots.
Those who arrive via searches like aiarty video enhancer free download or aiarty video enhancer for mac often find that the installer needs a Gatekeeper workaround: mount the disk image, run the Open Gatekeeper friendly script, press Enter in Terminal, then drag the app into Applications. Rosetta and a VPN may be required on first launch depending on your network setup. Once past that, the preferences above make the difference between a generic result and something tuned to your setup.