Aspecten
 Download (3.5 GB)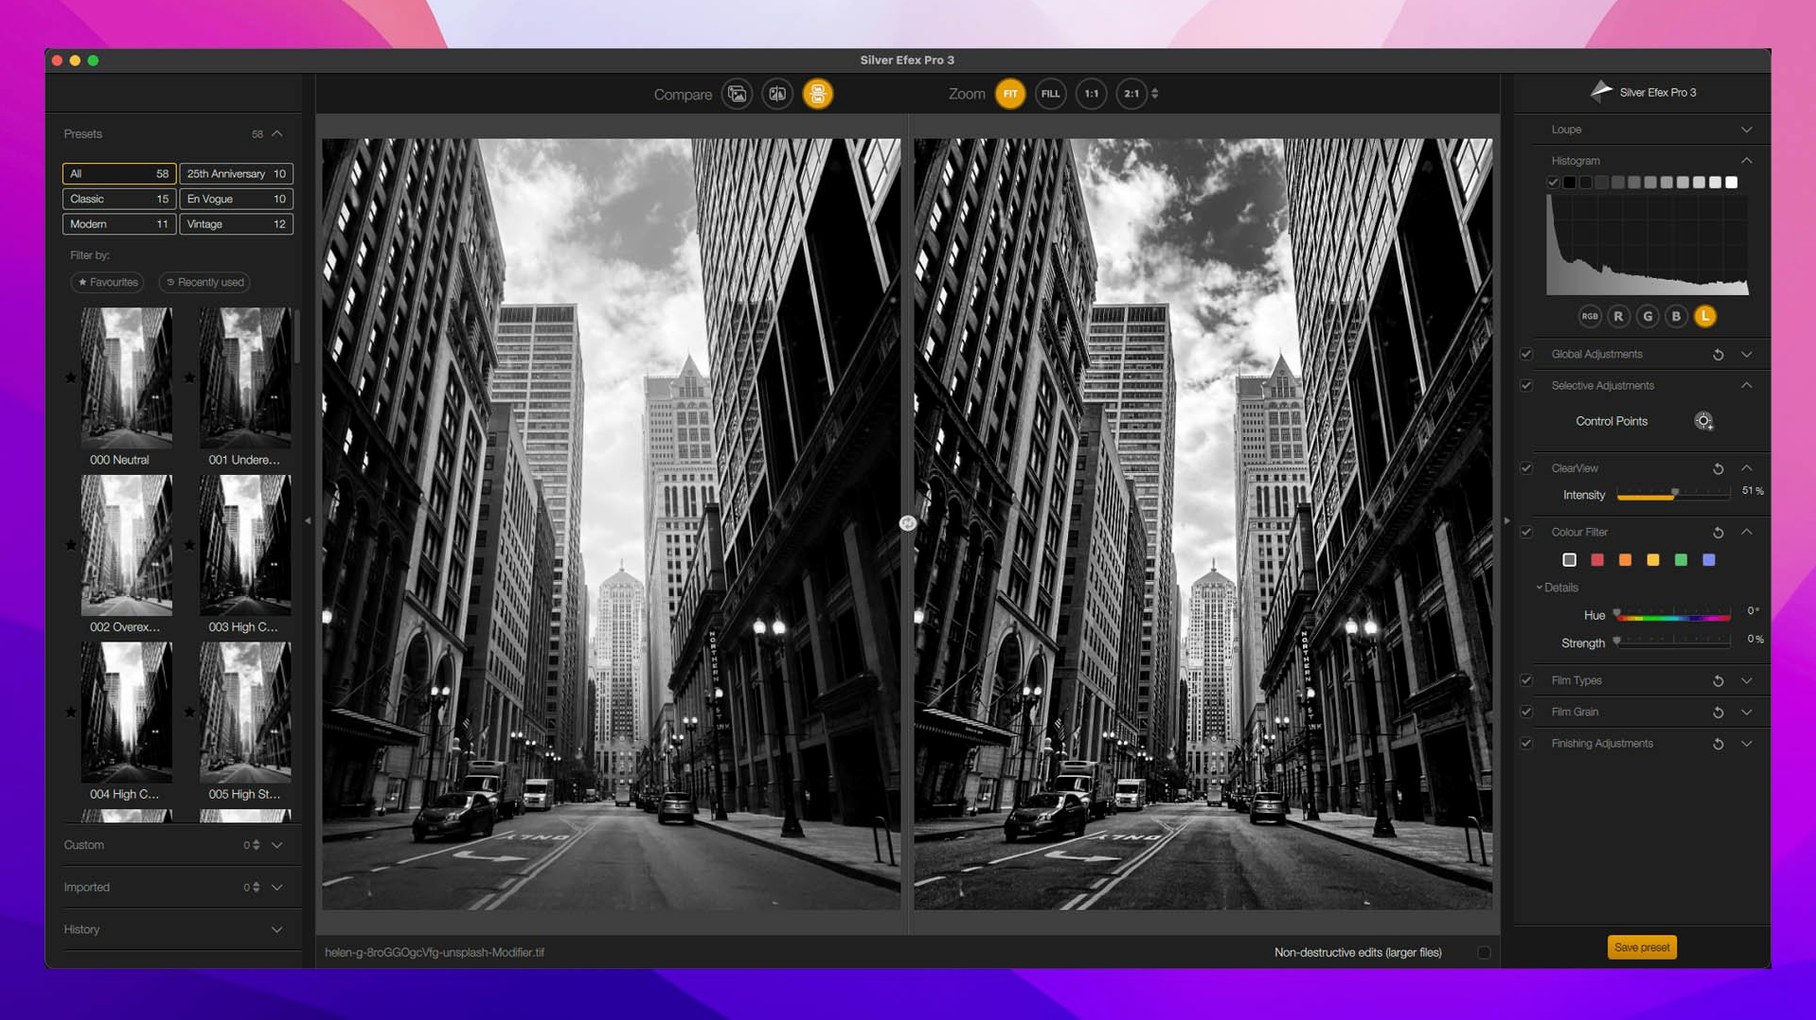
You open a raw file in Photoshop, duplicate the background layer, and launch Color Efex Pro from the filter menu. The image needs a subtle warm shift in the midtones and a little more detail in the shadow areas. You pick a recipe of two filters, mask the sky with a control point, and return the result to the host as a new smart-filtered layer. That sequence — jump out, adjust, jump back — is what the Nik Collection is built for.
What travels between host and plugin
Each plugin in the suite receives a rendered pixel layer from the host application. The host sends a flattened copy; the plugin cannot see adjustment layers, vector masks or type. When you commit an edit, the plugin returns a new pixel layer. In Photoshop that layer can be a Smart Object, which keeps the Nik settings live for further tweaking. In Lightroom the round-trip creates a TIFF alongside the original raw file.
Typical jobs across the suite
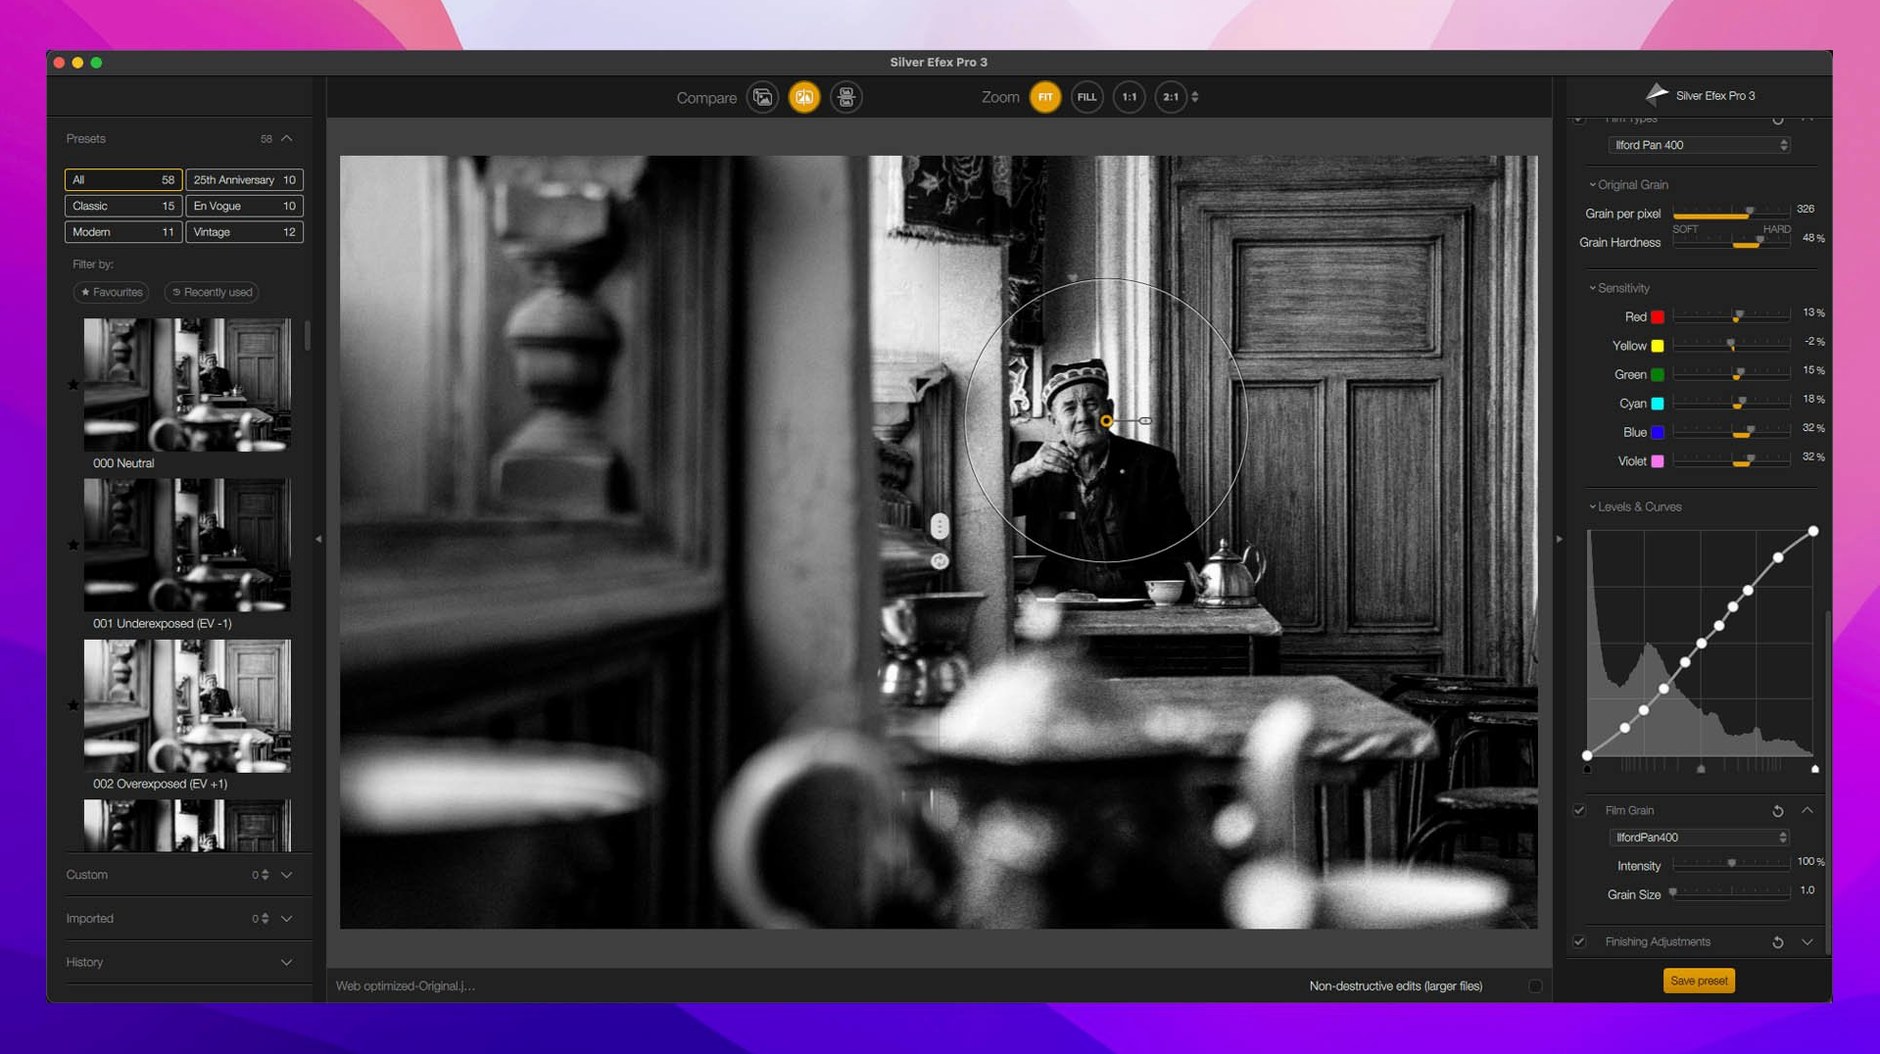
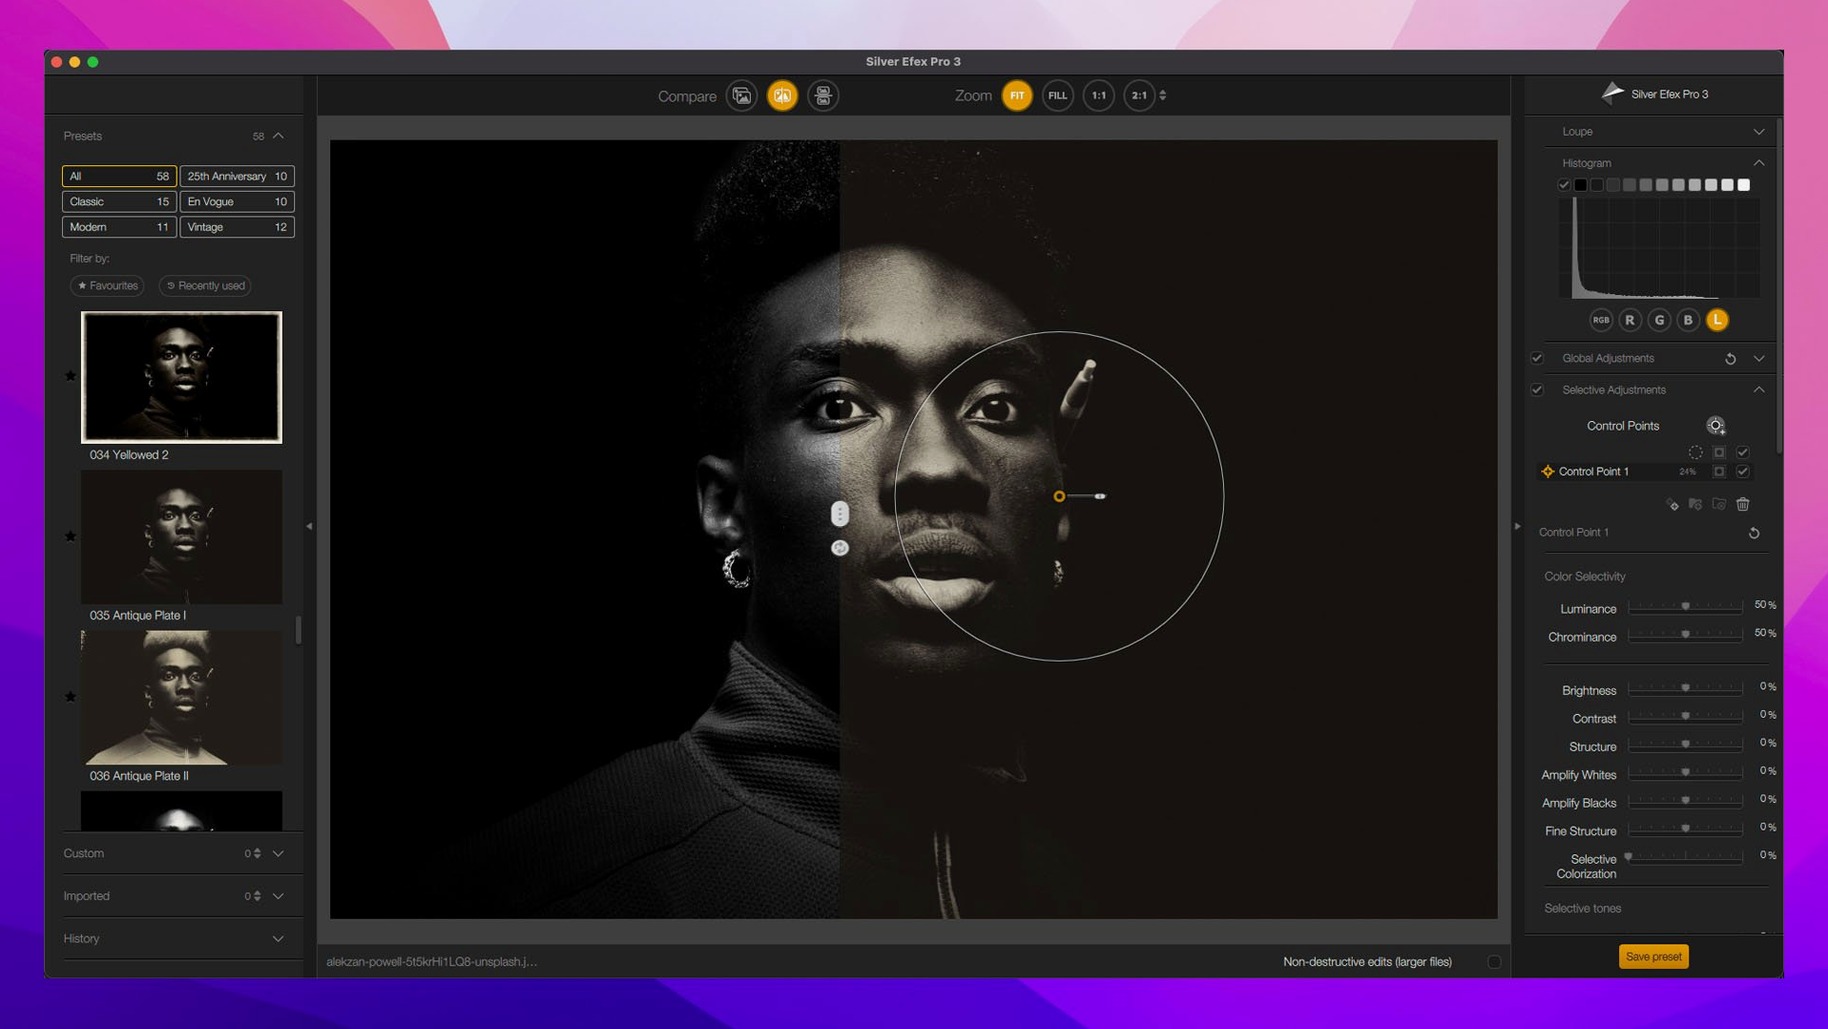
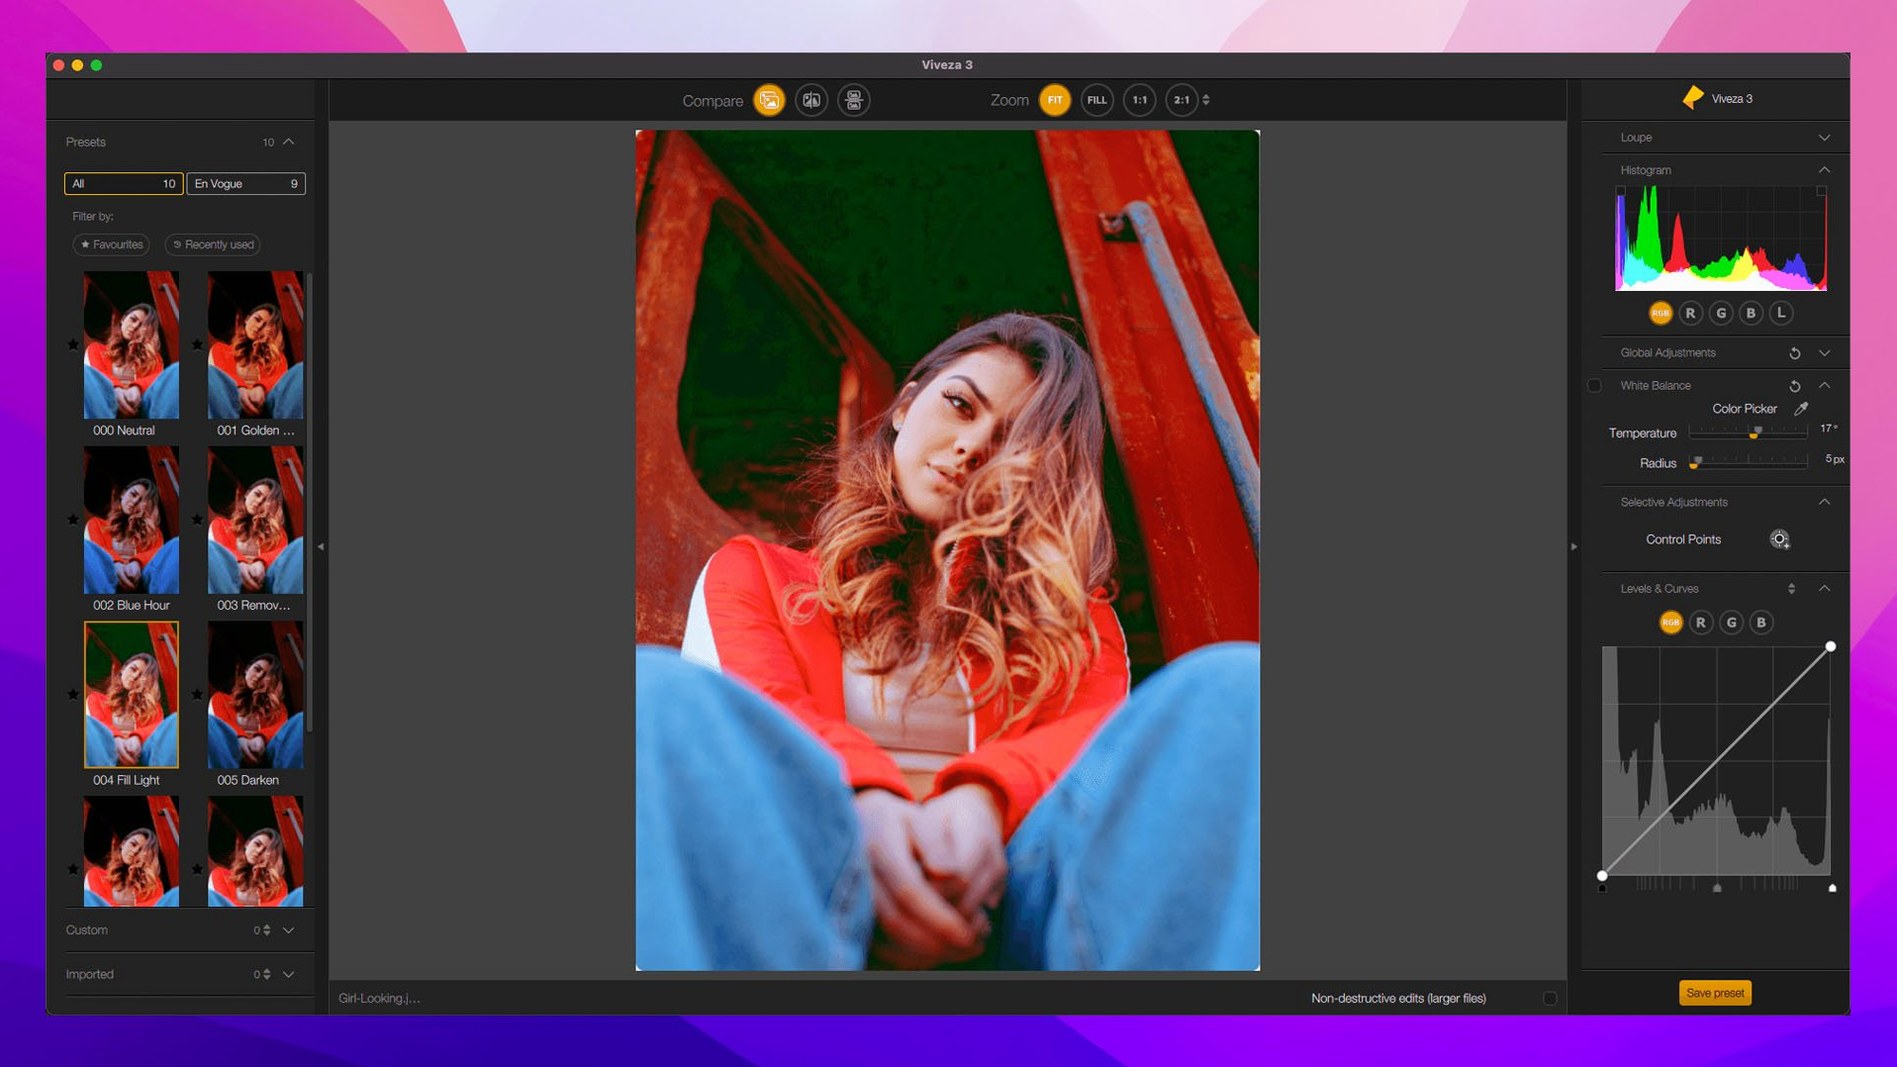
Color Efex Pro carries the heaviest load. Its 52 filters stack in any order, and the Selective tool lets you brush an effect into a small area without extra masking in the host. Silver Efex Pro handles black-and-white conversions with a split before-and-after preview that makes it easy to compare toning recipes. Analog Efex Pro is the texture and ageing station — over 80 tools generate light leaks, dust, and lens distortion for a single frame. The U Point local adjustment system runs through all of them, placing control points that sample colour and luminance to build a mask on the fly.
Making flat foreground rocks stand out
You import a folder of fifty landscape shots into Lightroom, rate the keepers, and pick one where the foreground rocks look flat. With the image selected, you choose Photo > Edit In > Nik Collection > Color Efex Pro. Lightroom prepares a 16-bit ProPhoto RGB TIFF and hands it to the plugin. The interface opens with the image in the main canvas and the filter list collapsed on the left.
You expand the filter list and scroll to Detail Extraction. Dragging the filter onto the image adds it to the stack on the right. The default strength is too high for natural rock texture, so you pull the effect opacity to 40%. A control point placed on the darkest shadow tells the algorithm to limit the effect to tones similar to that sample — the sky stays smooth while the rock gains micro-contrast. You add a second filter, Cross Balance, to shift the colour temperature of the midtones slightly warmer. The whole edit takes three minutes. You click OK, and Lightroom receives the processed TIFF, stacked next to the original raw file.
Switching Lightroom round-trips to 16-bit TIFF
A few preferences make the suite feel less like a guest and more like part of the room. In the Nik Selective Tool preferences panel, switch the file format for Lightroom round-trips from 8-bit to 16-bit TIFF. The file is larger, but the extra tonal headroom matters when you push a gradient or a colour cast hard. Under the same panel, set the colour space to ProPhoto RGB if your host pipeline already uses it; otherwise keep Adobe RGB to avoid clipped gamut warnings later.
Inside any plugin, open the gear icon and enable Preset Hover Preview. With this active, moving the cursor over a preset name shows its effect on the canvas without clicking. It saves a steady stream of undo steps when you are exploring. Also check that the preview quality slider sits at full resolution — the default is sometimes lower to save GPU memory, but on a modern Mac with 16 GB of unified memory or more the full-res preview is comfortable.
If you use a pen tablet, go to the plugin's display settings and increase the interface scale to 125% or 150%. The control point diameter and slider handles become easier to hit, and the text remains sharp. The setting sticks across the suite.
Visual-recipe thinkers with a Lightroom catalog
Photographers who already organise their work in Lightroom or Photoshop gain the most, because the round-trip workflow slots into an existing catalogue without forcing a new file manager. The suite suits people who think in visual recipes: a warm print tone, a specific film grain, a vignette that tracks a face. Each plugin offers sliders, but the real speed comes from browsing presets and nudging them, not from building every look from zero.
Black-and-white printers get strong mileage from Silver Efex Pro. Its toning controls map directly to the colour response of traditional papers, and the before-and-after split preview makes it easy to match a screen proof to a print reference. Wedding and event photographers who need consistent colour across hundreds of frames can save a Color Efex Pro recipe and apply it with one click from the Selective Tool in Photoshop. The suite is less helpful for someone who works entirely in Apple Photos or who needs non-destructive raw editing without leaving a single application; the host-jumping model adds management overhead those users may not want.
A complete black-and-white edit, step by step
A portrait sits open in Photoshop, already retouched for skin but still in colour. The brief is a high-contrast monochrome with cool shadows and a subtle warm highlight split, suitable for a 10-inch print.
- Duplicate the retouched layer and name it Silver conversion.
- With the new layer selected, choose Filter > Nik Collection > Silver Efex Pro.
- The plugin opens showing a neutral conversion. Switch the preview mode to side-by-side split so the original colour sits on the left and the conversion on the right.
- Browse the Preset panel. Hover over Full Contrast and Structure — the shadows deepen but the skin looks too granular. Hover over Fine Art Process — the midtones are smoother. Select it as a starting point.
- Open the Global Adjustments panel. Raise Structure to 35% for the hair and collar, then drop it to 15% for the midtones using the selective slider split. Increase Dynamic Brightness by 10 points to lift the eyes.
- Move to the Color Filter section. Drag the hue slider toward blue; the skin cools visibly. Set strength to 25% so the effect is a shadow tint, not an overall cast.
- Click the Split Toning tab. Assign a warm amber to the highlights at 12% opacity and a steel blue to the shadows at 18% opacity. The split appears immediately in the preview.
- Place a control point on the subject's left cheek. Increase the radius to cover the whole face and raise Brightness by 8%. A second control point on the background reduces Structure to soften the backdrop without touching the subject.
- Check the Loupe at 100% on the catchlight. The sharpening defaults are conservative; push Fine Structure to 10% locally with a third control point restricted to the eye area.
- Click OK. Back in Photoshop, the new Smart Object layer holds the full Silver Efex Pro stack, re-editable with a double-click.
The round trip takes under ten minutes, and the layer-based approach means the original colour retouching stays untouched underneath. The same steps work in Affinity Photo, though the plugin receives a flattened pixel layer there and returns a rasterised result — no Smart Object equivalent, so you keep a spare layer before sending.