Aspecten
 Download (551 MB)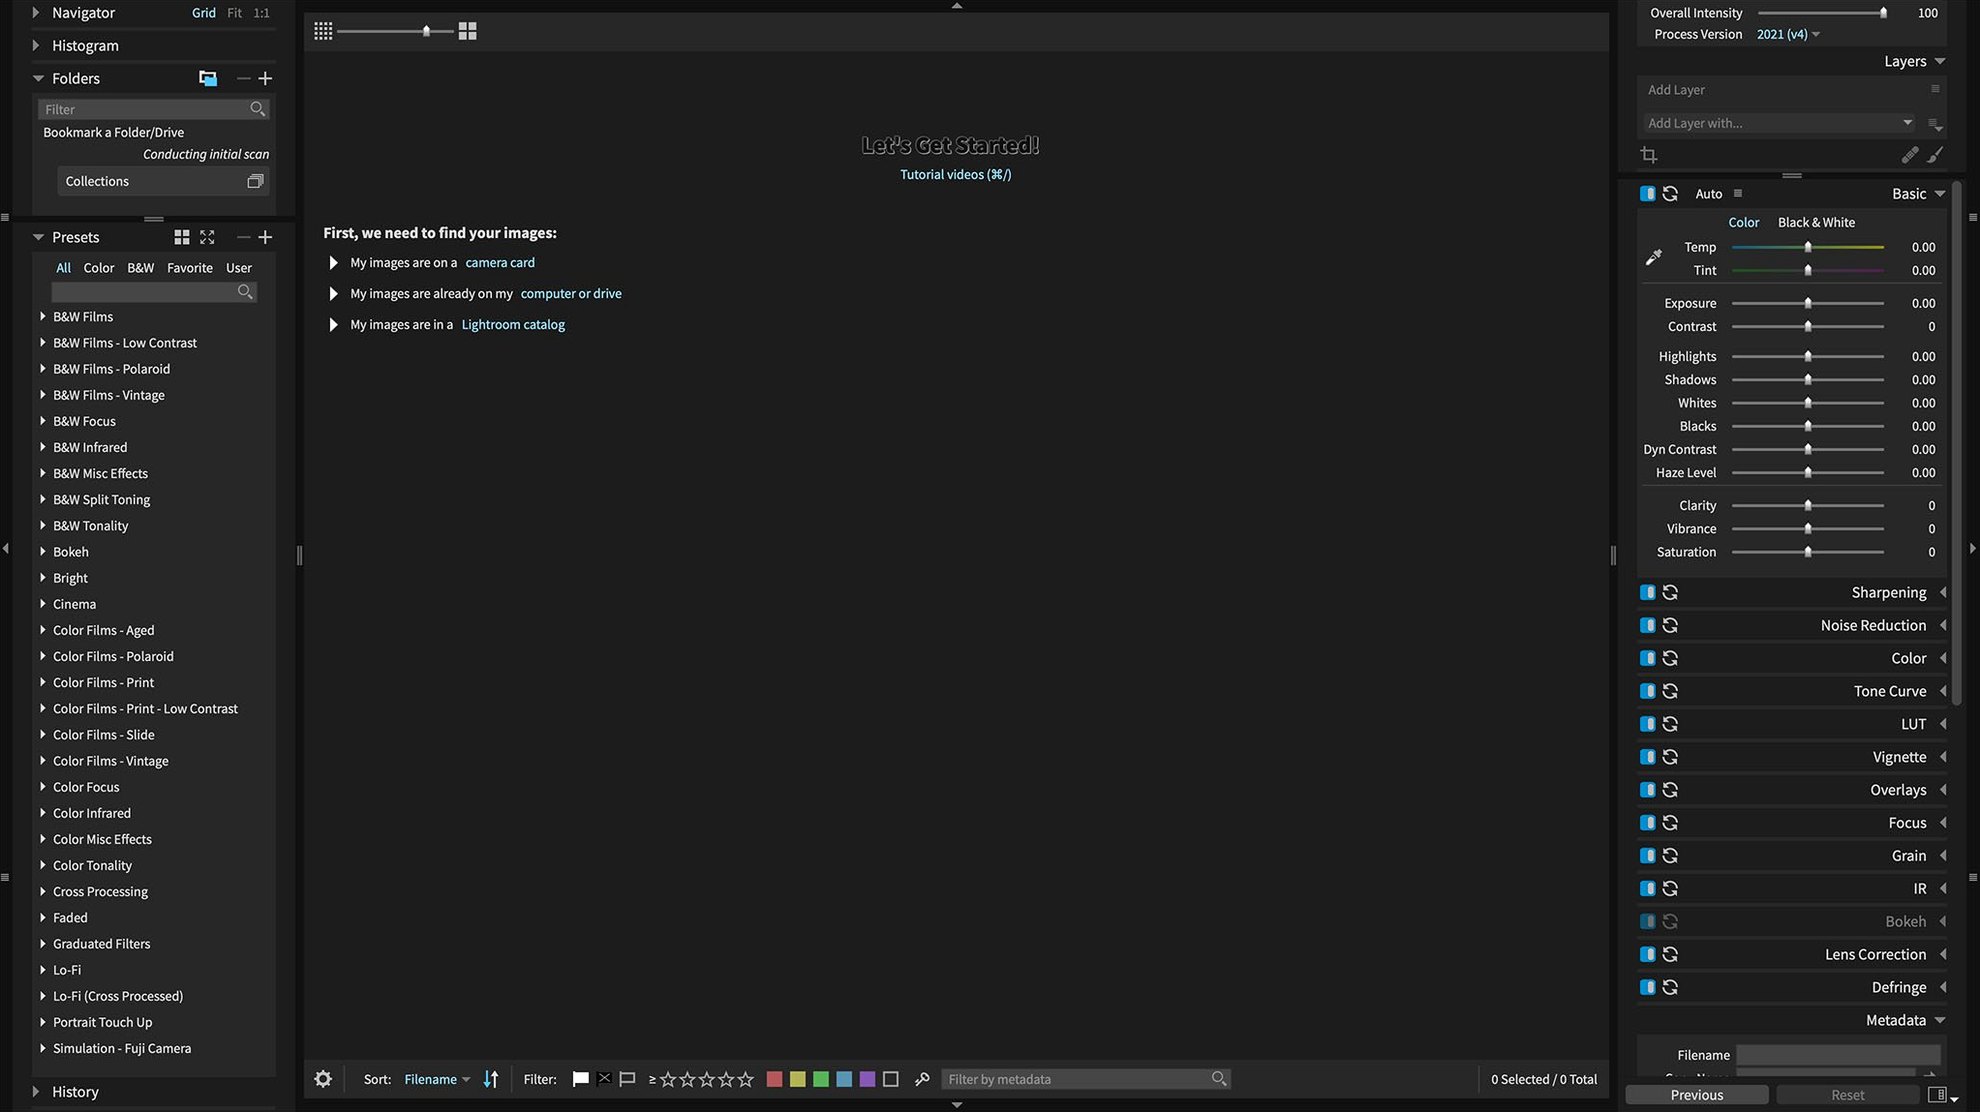
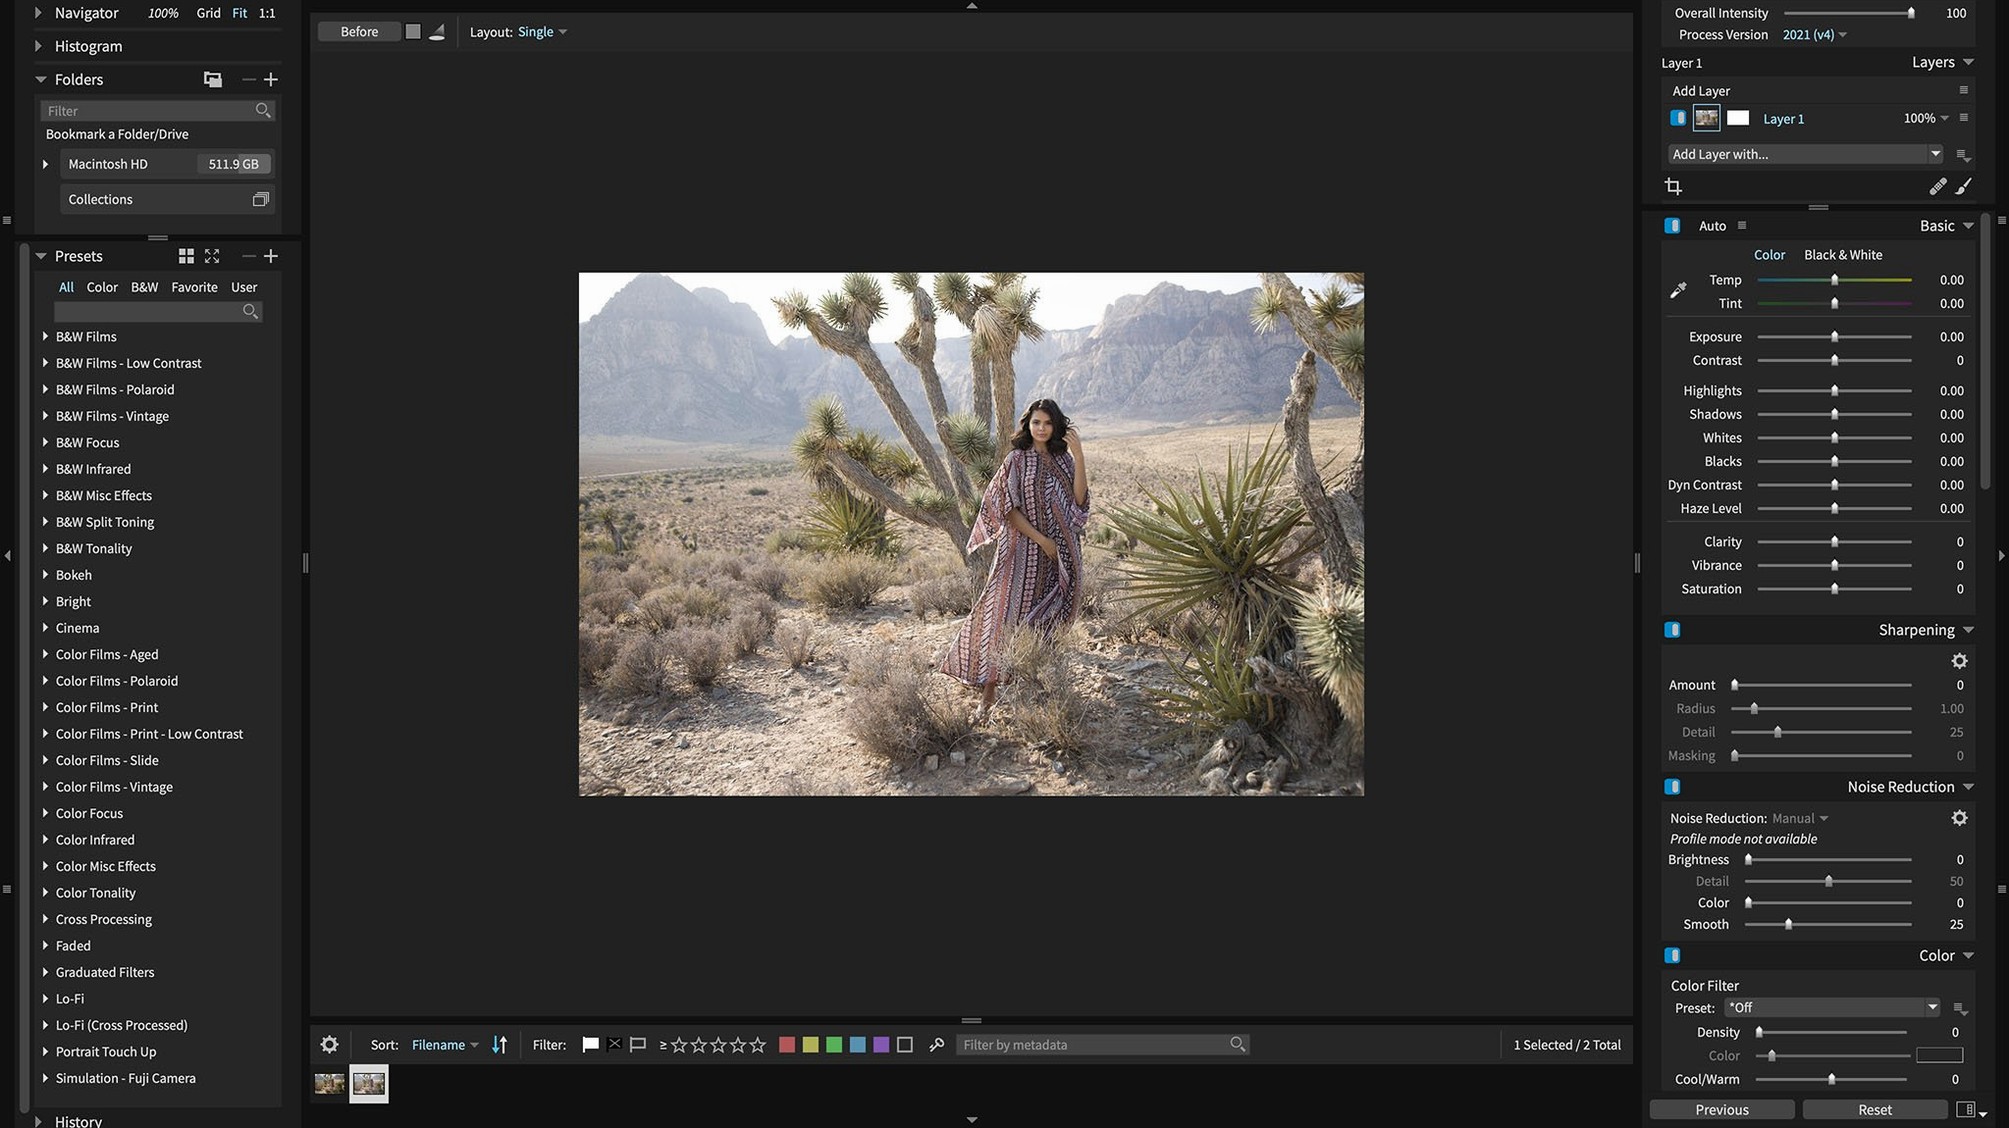
Exposure X7 runs on any Mac with an Intel 64-bit processor or Apple silicon, provided it stays on macOS 10.13 High Sierra or newer. There is a single installer that covers both architectures, so the app launches natively on M1, M2, and M3 machines without Rosetta. For plugin use, the host matters as much as the operating system. The installer hooks into Adobe Photoshop CS6 or any Photoshop CC release from 2015 onward, and it also integrates with Lightroom 6 and Lightroom Classic CC. Once connected, you can send a raw file from your Lightroom library straight into Exposure’s masking and layering workspace, then pass the rendered result back.
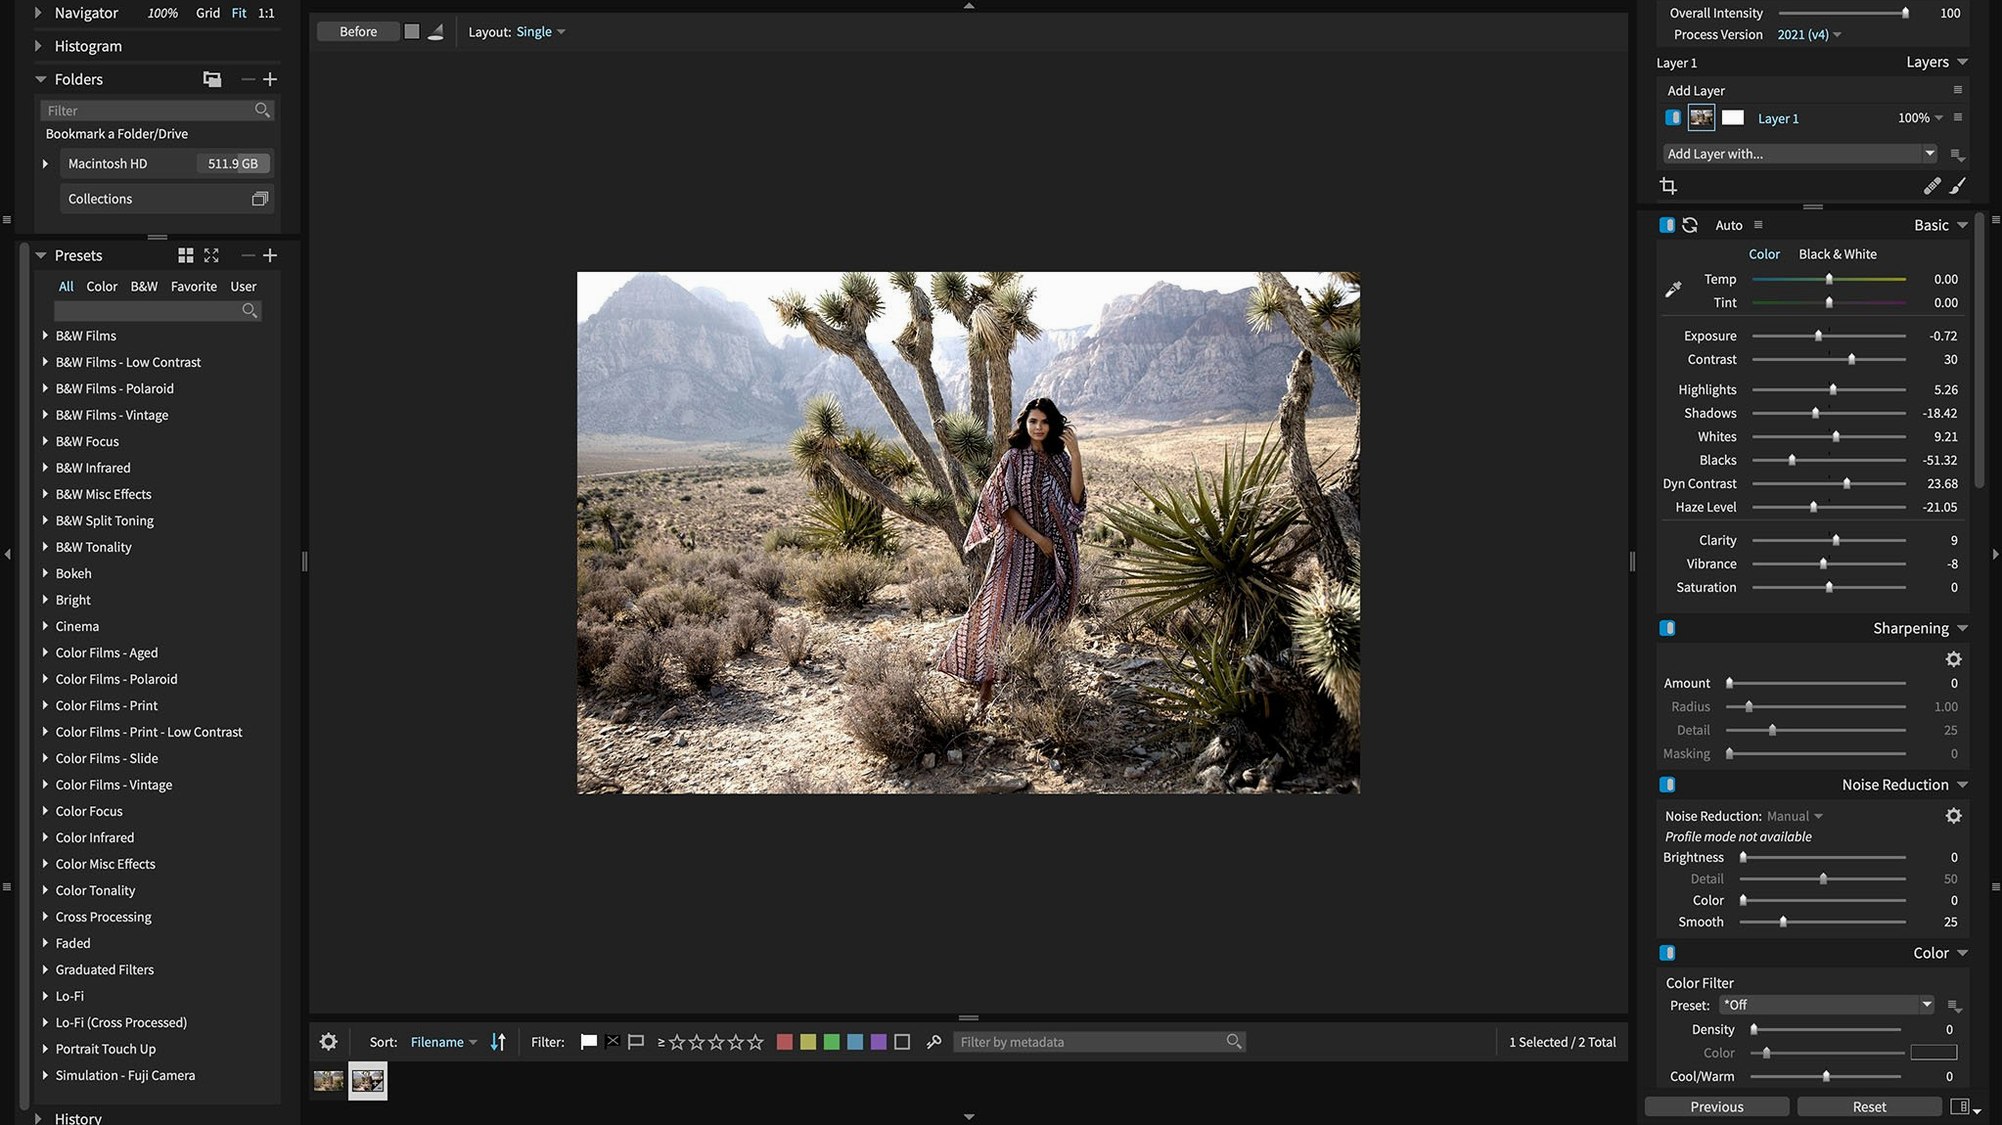
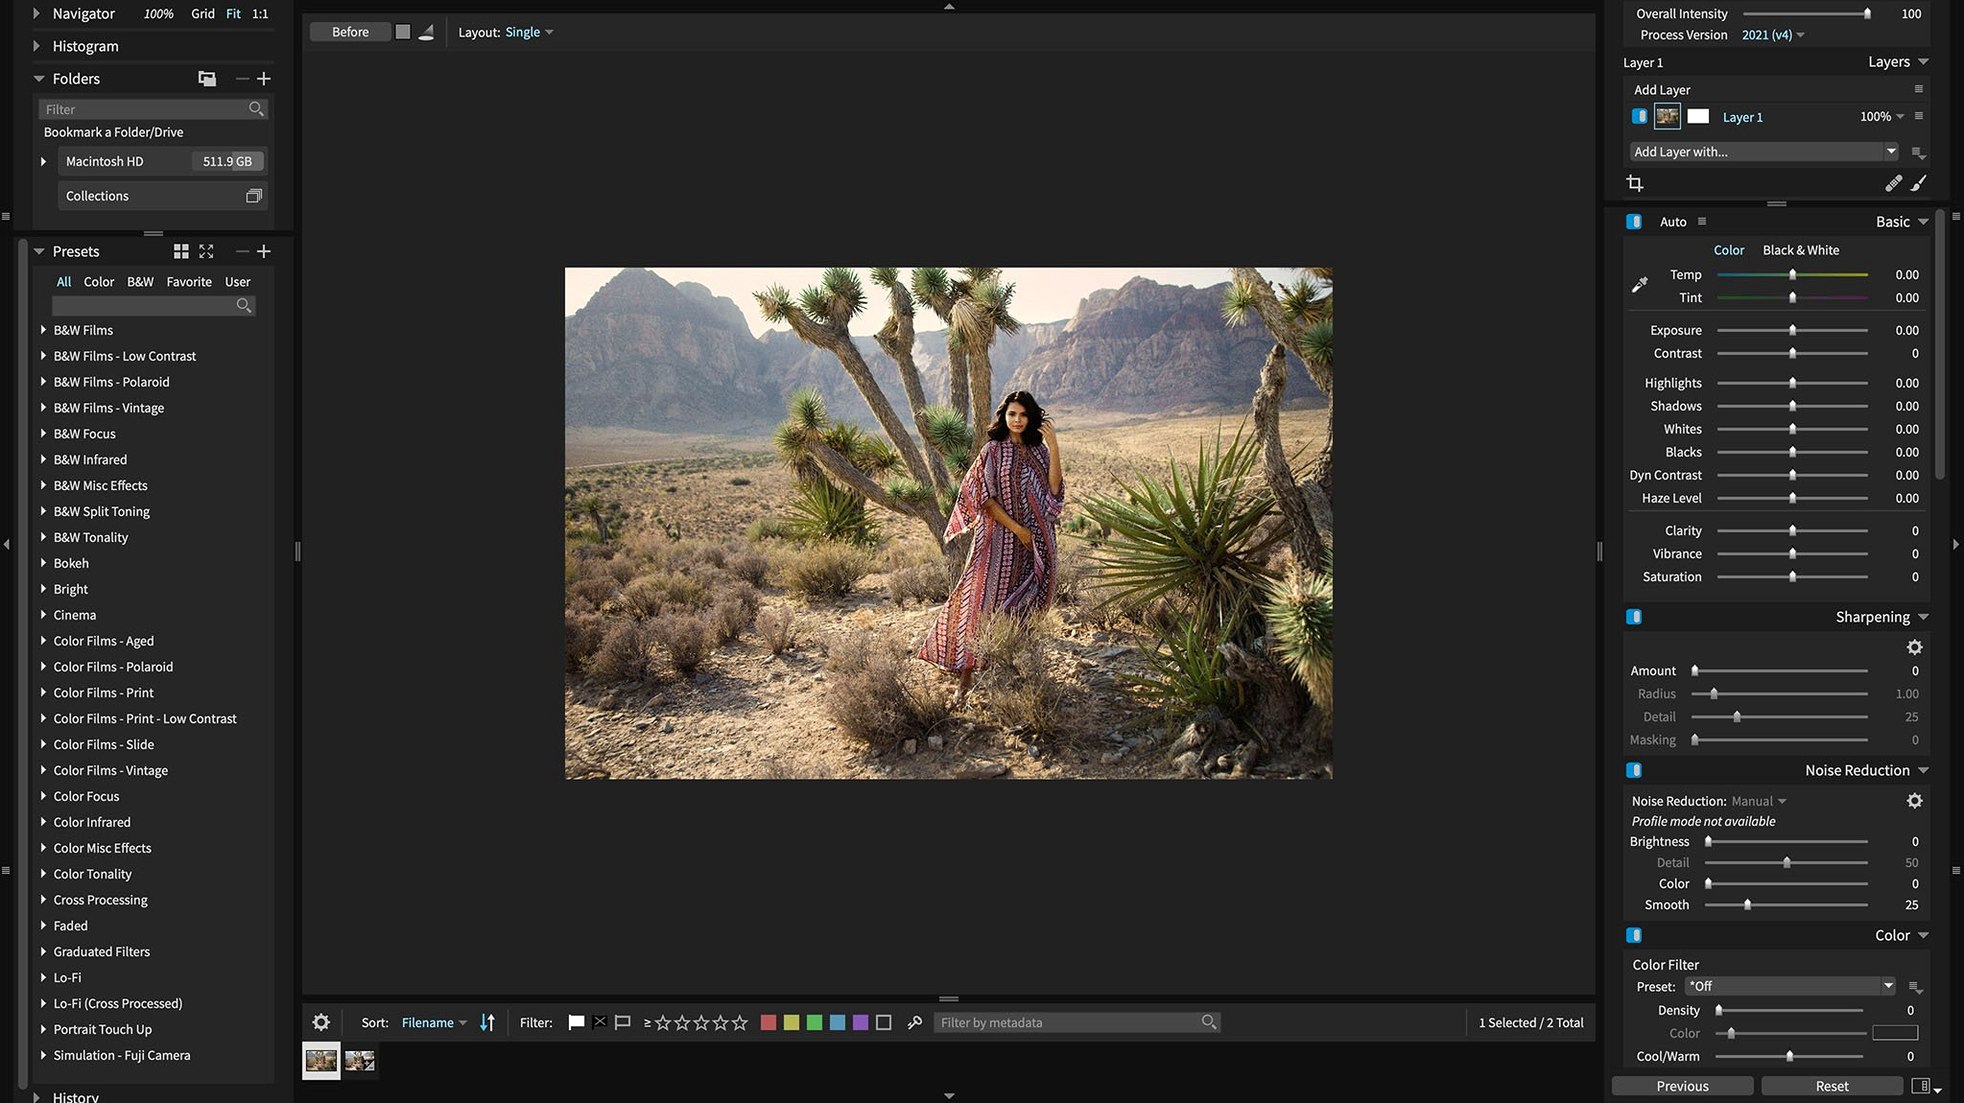
File support follows the same practical line. Version 7.3.0 added corrected rendering for Sony A7 IV lossless compressed raw files and expanded camera profiles to cover the Panasonic Lumix G95D, Lumix S5 IIX, and Sony Cyber-shot DSC-RX100M7. The update also lets you open HEIC photos from current iPhone models directly, which matters when a quick phone shot lands on the desktop and needs the same treatment as a raw file. The preset browser draws from a library of more than 500 looks, and the masking tools provide the usual brush, radial, and gradient options alongside luminance and colour range masks—enough for detailed local adjustments without leaving the host application.
The interface is clean and deliberately unflashy. Panels stay where you put them, and the workspace reconfigures depending on whether you are browsing, culling, or retouching. Keywords, collections, and smart collections handle organisation without forcing a catalogue import, so folders on disk remain the source of truth. The retouching panel covers blemish removal, eye sharpening, and skin softening without pushing into full compositing territory.
On the sound side, there is no audio engine to speak of—this is a stills editor through and through. But the translation refresh in version 7.3.0 is worth noting for anyone working across locales. The interface now ships in English, German, and French, with updated Chinese and Japanese localisations that bring the masking labels and export dialogs in line with the current feature set.
Lightroom migrants keep their folder structure intact
Lightroom users who have grown tired of catalog maintenance tend to settle in quickly. Exposure reads folders directly, so the library structure you already keep on external drives stays intact. The plugin route lets you keep Lightroom as a front end for importing and keywording, then bounce a difficult file into Exposure for masking work that would feel cramped in Lightroom’s local adjustment panel. The trip back is clean: a rendered TIFF appears next to the original raw in the Lightroom filmstrip.
Photoshop users gain a different kind of leverage. Exposure’s preset library becomes a starting layer rather than a final look. A portrait can receive a film-inspired base grade in Exposure, return to Photoshop as a smart object, and still allow retouching on top. That combination suits retouchers who want a colour foundation without building LUT stacks by hand. The 3D colour masking also appeals here, since pulling a mask from a specific hue in skin or fabric is often faster than painting it manually.
Event and wedding photographers are another natural fit. Collections and smart collections handle large shoots without importing duplicates, and the one-click automatic adjustment gives a workable starting point for hundreds of frames. The HEIC support added in 7.3.0 matters when guests send phone shots after the event and those files need to sit alongside the raw captures in the same edit session.
Point the browser at one folder to learn the panels
Start by pointing Exposure at one or two working folders rather than your entire photo archive. The browser indexes quickly, but learning the panel behaviour is easier with a limited set. Keep the default workspace for the first session, then adjust it only after you have culled and edited at least once — the panel layout changes depending on mode, and moving things too early often leads to confusion.
Set up export presets before you need them. The 7.3.0 update fixed a crash when opening the Quick Export menu after reordering presets, but the underlying advice stands: decide on your usual output sizes and naming pattern during a quiet moment, not when a client is waiting. A standard JPEG preset at 2048 pixels long edge plus a full-resolution TIFF preset covers most delivery situations.
With masking, begin with luminance and colour range masks before reaching for the brush. The automatic mask previews show where the tool is looking, and adjusting the range sliders teaches you more about the image than painting blind. Leave the 3D colour masking for the second week; it is powerful but rewards some familiarity with the basic tools first.
Grading and local corrections between file manager and compositor
Exposure sits comfortably between a file manager and a full compositor. Use Finder or your existing folder structure for storage decisions, Exposure for grading and local corrections, and Photoshop for anything that requires clone stamping across multiple layers or complex compositing. The non-destructive layers inside Exposure keep file sizes reasonable compared with exporting flat TIFFs at every stage.
macOS features integrate without ceremony. Spotlight can still find your original files because Exposure does not wrap them in a proprietary package. Time Machine backs up folders as usual, and the edits live in sidecar files that can be copied alongside the raws. If you use iCloud Drive for a working folder, the sync behaves the same as it would with any document-based app — just avoid editing the same file from two Macs at once.
Printing workflows benefit from the export presets too. A preset that outputs Adobe RGB JPEG at the printer’s native resolution keeps the colour path predictable, and the soft proofing in Exposure’s rendering engine gives a fair preview of how a matte paper will compress the shadows.
340 wedding shots culled with arrow keys and reject flags
Nine in the evening. A folder of 340 raw files from a Saturday wedding lands on an external SSD. Exposure opens to the browser, folder added, thumbnails build in under a minute. Culling mode, arrow keys, reject flag on the blinks and the misfires. Twenty minutes later the keepers sit in a collection named Ceremony Picks.
First edit: a portrait with warm window light. One click on the automatic adjustment sets exposure and white balance close enough. A film preset from the library softens the highlights and pushes the shadows slightly green. The preset strength slider drops to 70 percent. A luminance mask isolates the background, and a gentle negative exposure brings the curtains down a stop. The skin stays untouched.
The plugin route gets used three frames later. A group shot needs retouching beyond Exposure’s portrait panel — a stray cable, a reflection in spectacles. The file is sent to Photoshop as a smart object, retouched, saved. The TIFF returns to the same folder and shows up in the collection automatically.
By eleven, the export queue holds forty finished files. Two presets: full-resolution TIFF for the client archive, 2048-pixel JPEG for the online gallery. The Quick Export menu sits stable, no reordering needed. The folder on the SSD now carries the raws, the sidecars, and the delivered files. Nothing is locked inside a catalogue that only one app can read.